Beggs, OK
So, what do you do for a Christmas tree when your combined living room, kitchen, and dining room is about 13’x12′. You might think, “Oh, you buy a small tree and store it for the year!”. Except, we do not have enough storage space. “Oh, you buy a small tree, and throw it away like a good little trash generating American!” Sure, we could do that, but we decided to do something different.
Making a Disposable Christmas Tree …
in 137 not so easy steps.
Maybe they were easy steps, but kind of tedious.
Make a Template
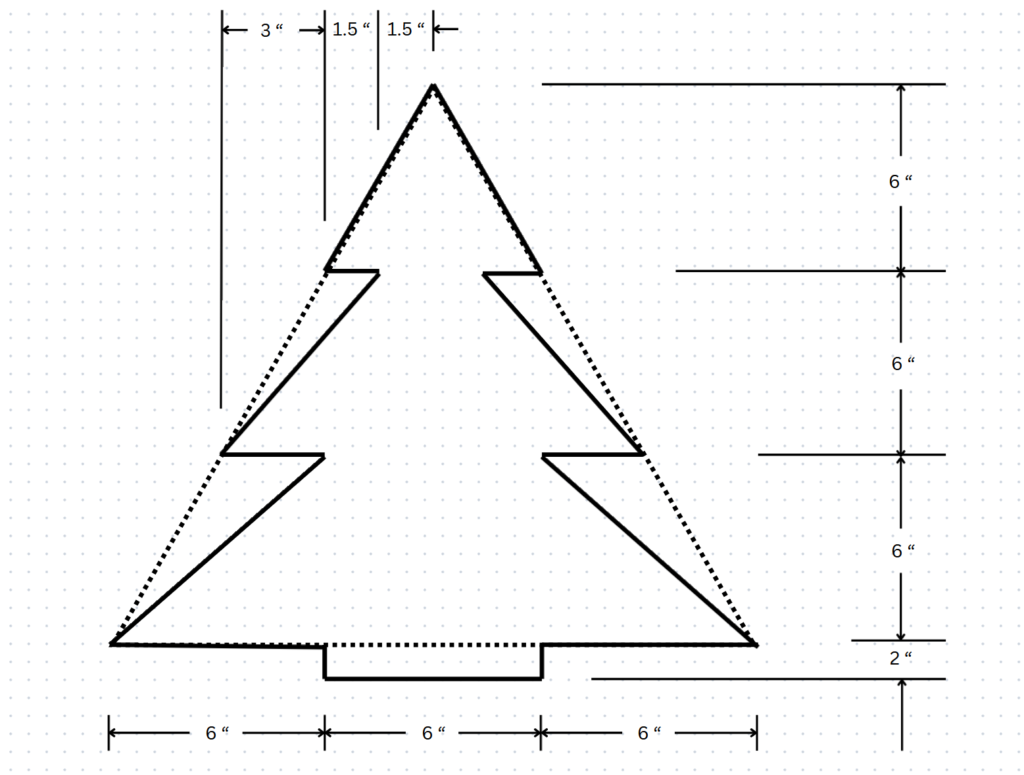
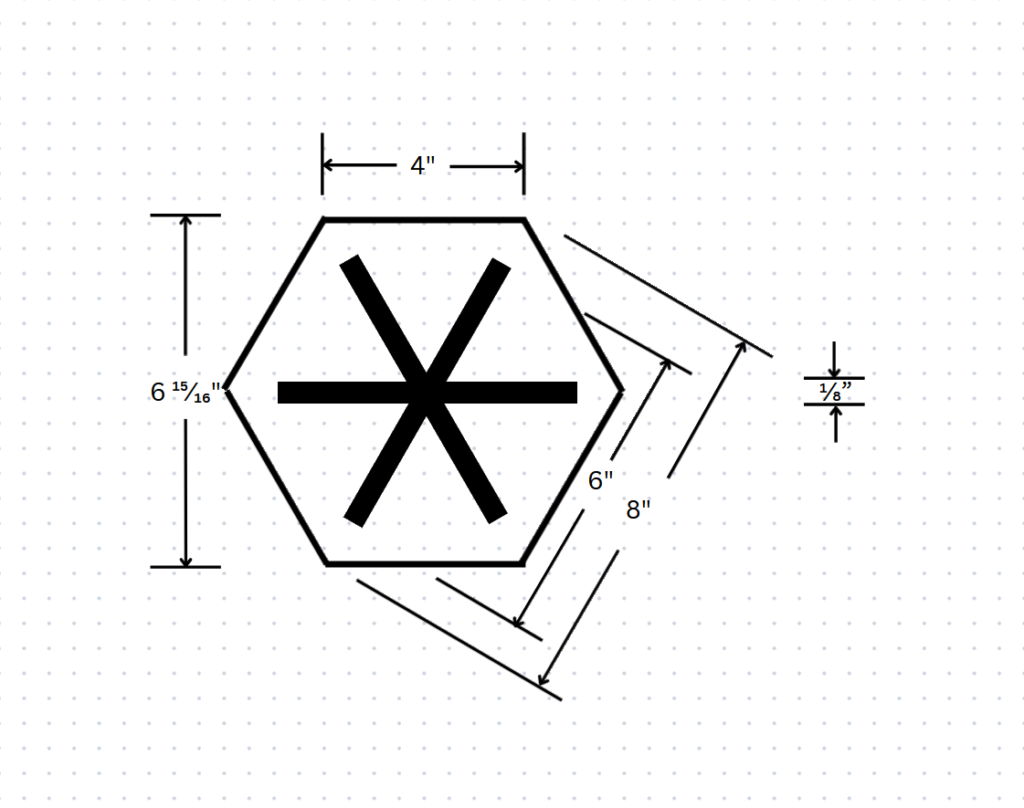
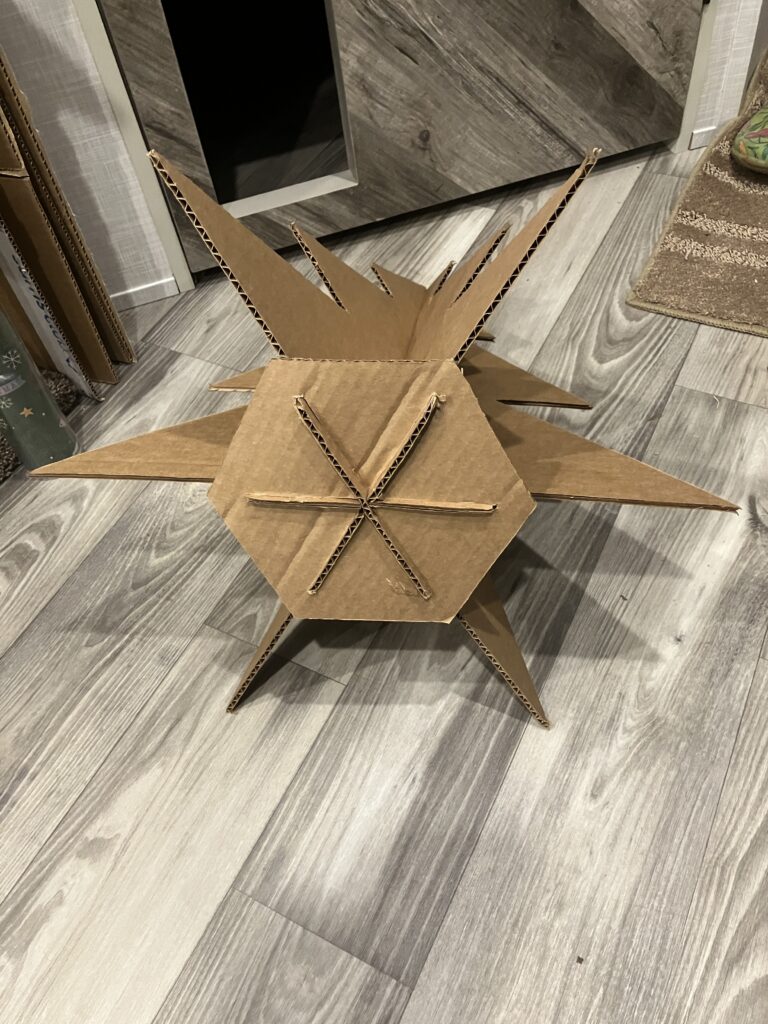
First you have to design a template. We went with a pretty straight forward design about 18 inches tall. John wanted to do a two panel tree, but someone decided it would look better with three panels. It turns out that three panels is 50% more panels and 100% more work. With three panels, you also need a slotted base to keep the panels at the correct angle. This is the design that we used. (You should not print and enlarge it. The width scale is about right, but the height scale is a little small.)
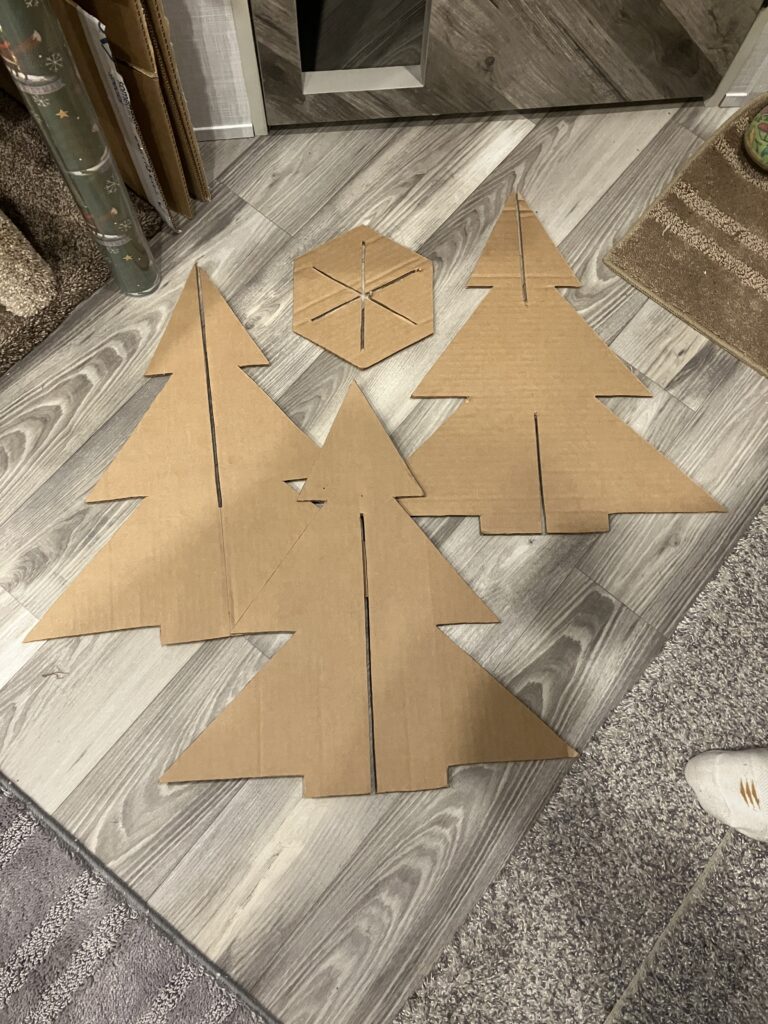
Cut the Templates
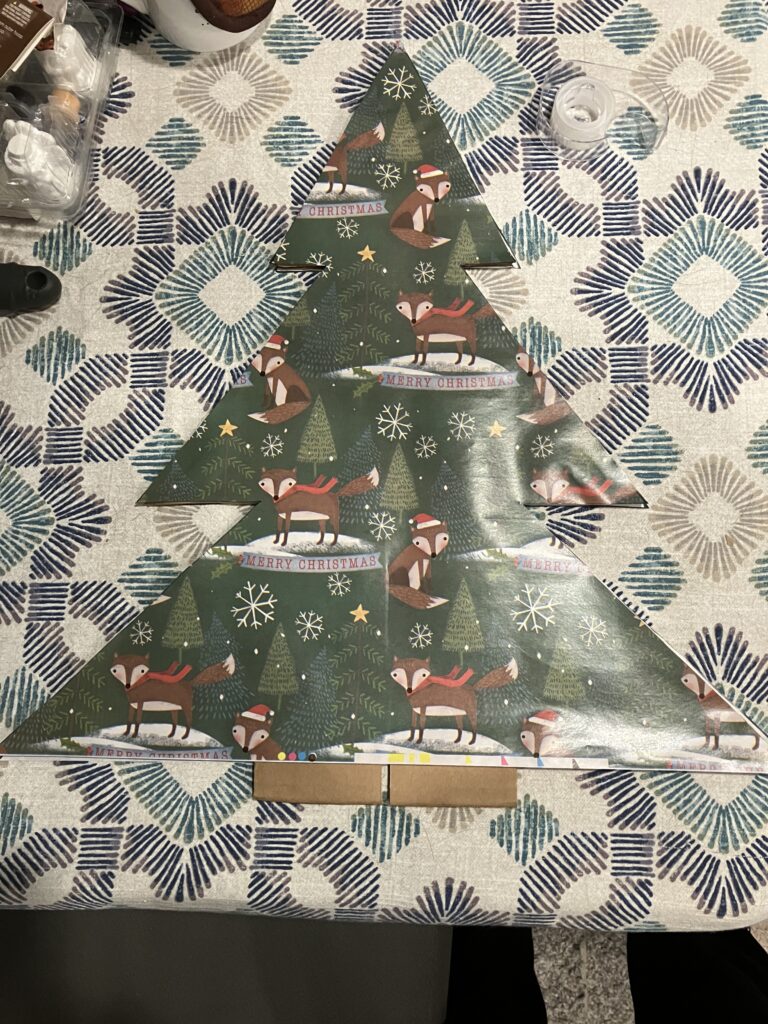
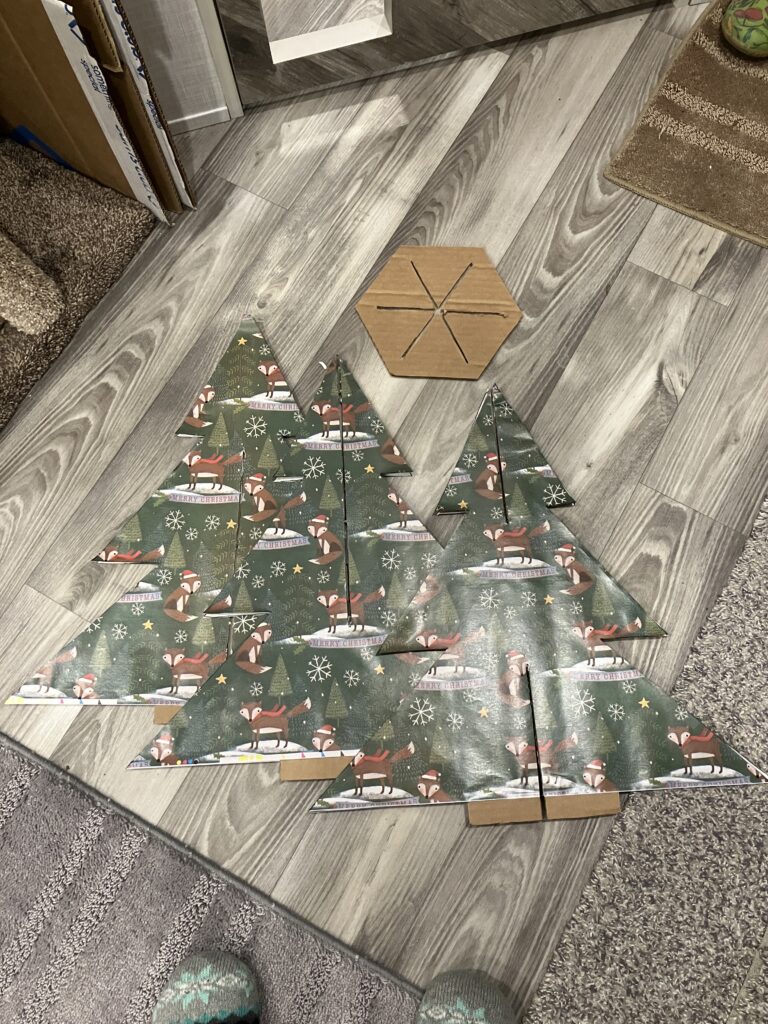
Next you draw and cut out the pieces. Since it is three panels, you need to cut a slot 2/3 of the height in each panel. To get them to line up correctly, you need a 2/3 slot from the top, 2/3 slot from the bottom, and a 1/3 slot from the top and bottom.
Test the Assembly
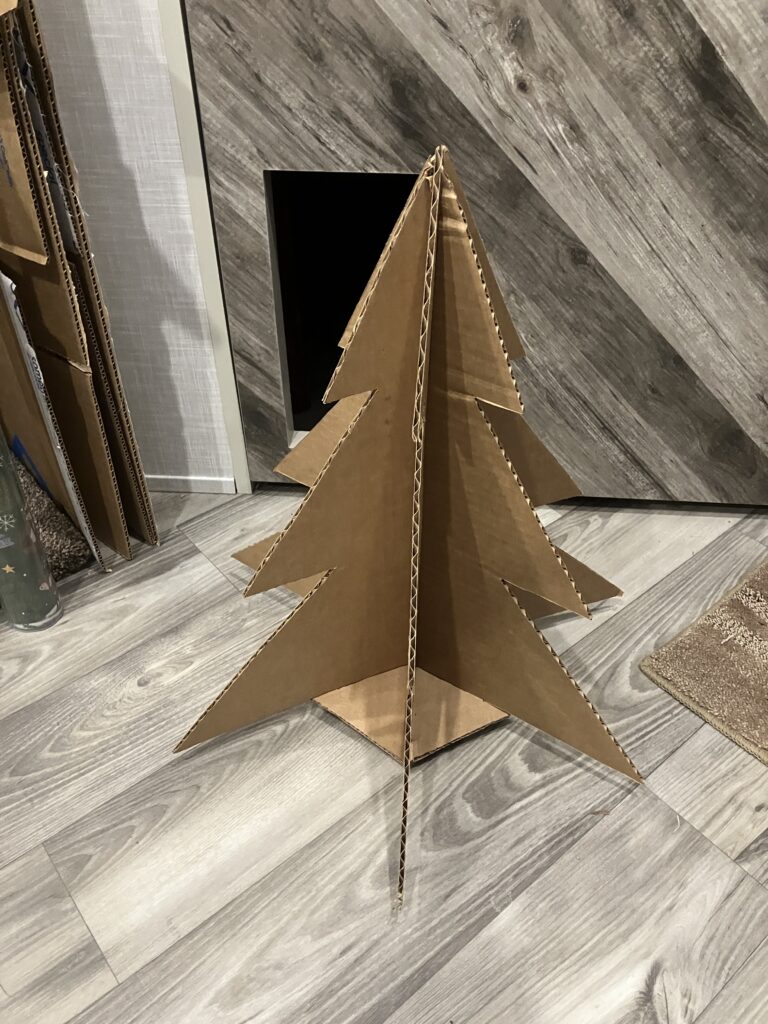
Assemble the parts and adjust the slots to make sure the panels and base line up and fit.
Make It Green
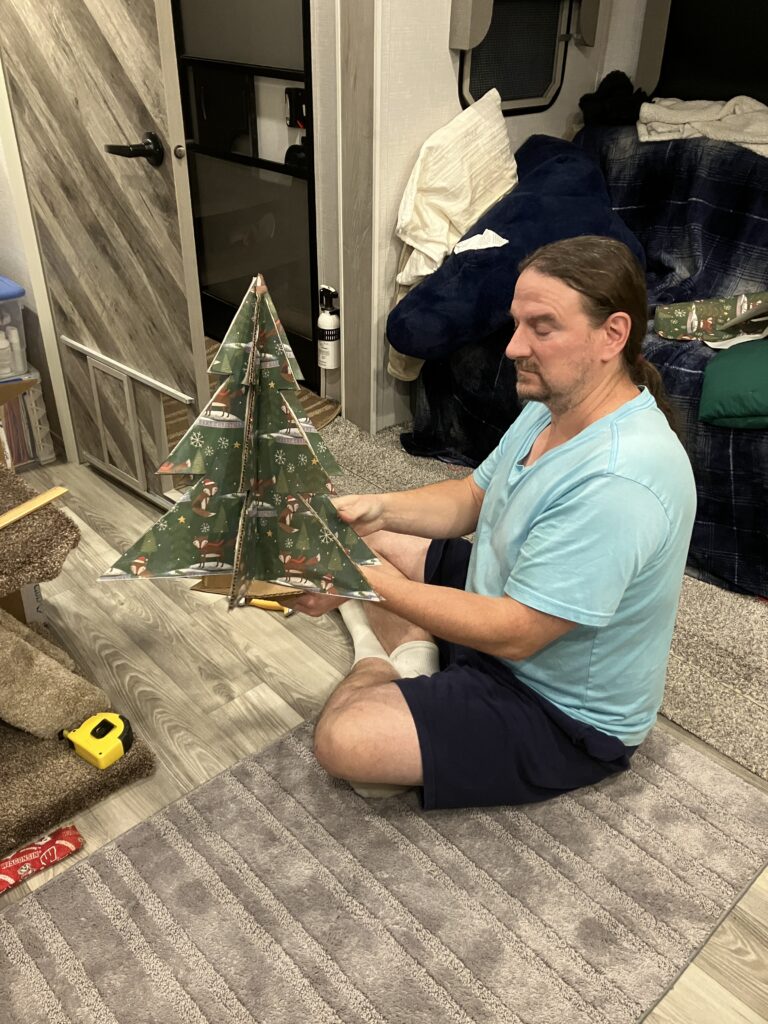
Disassemble the tree, trace the panel on the back of green wrapping paper, cut it out, and apply the green wrapping paper. Two sided tape or rubber cement probably work best. You know you have a metric ton of wrapping paper left from last year or even this year.
Reassemble the Tree
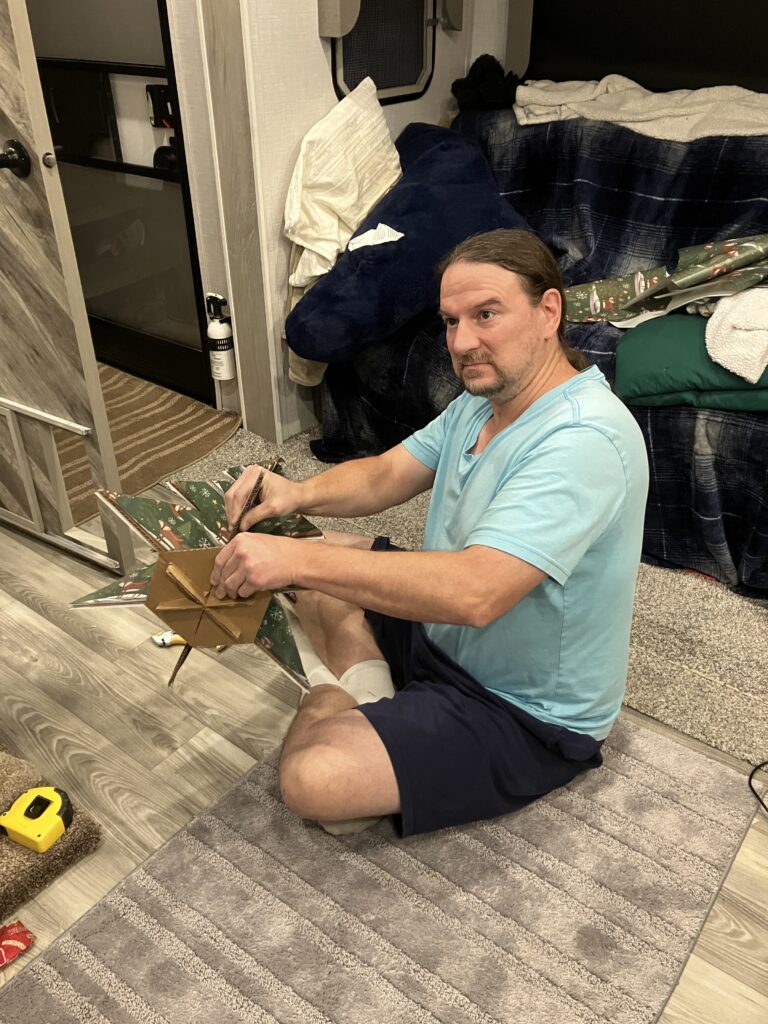
Reassemble the papered tree. Be careful to not tear the paper as you slot the panels back together and mount them on the base. Try not avoid going cross-eyed in frustration while you do this. (Yeah, definitely a two panel tree next year.)
Inspect for Flaws
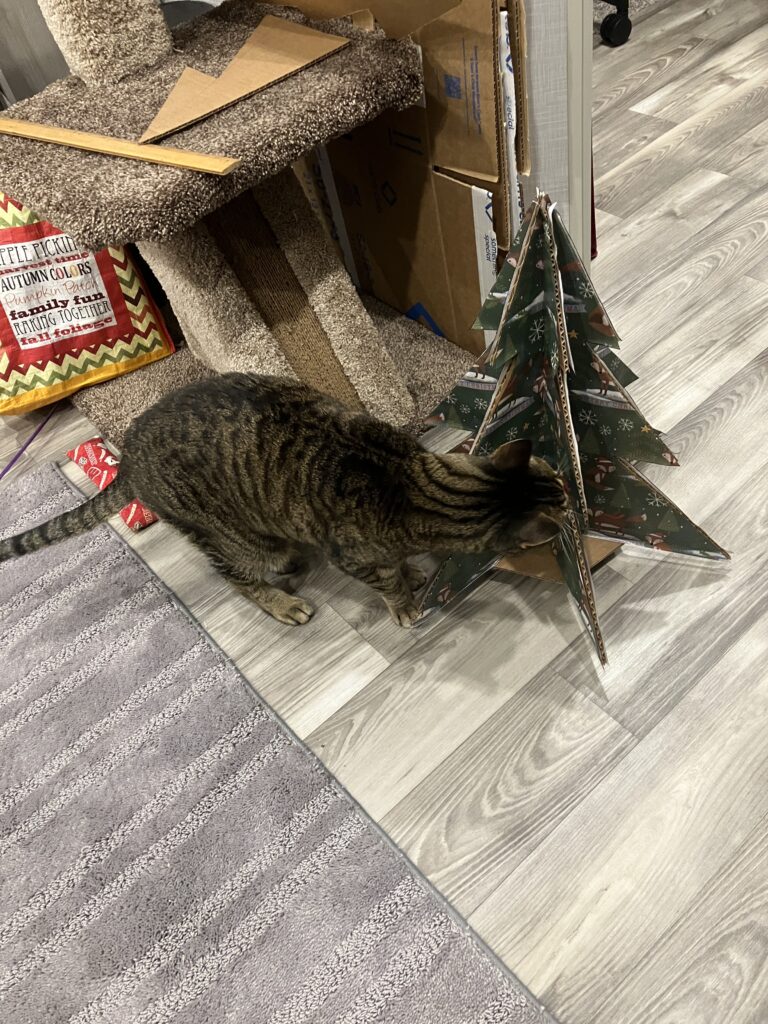
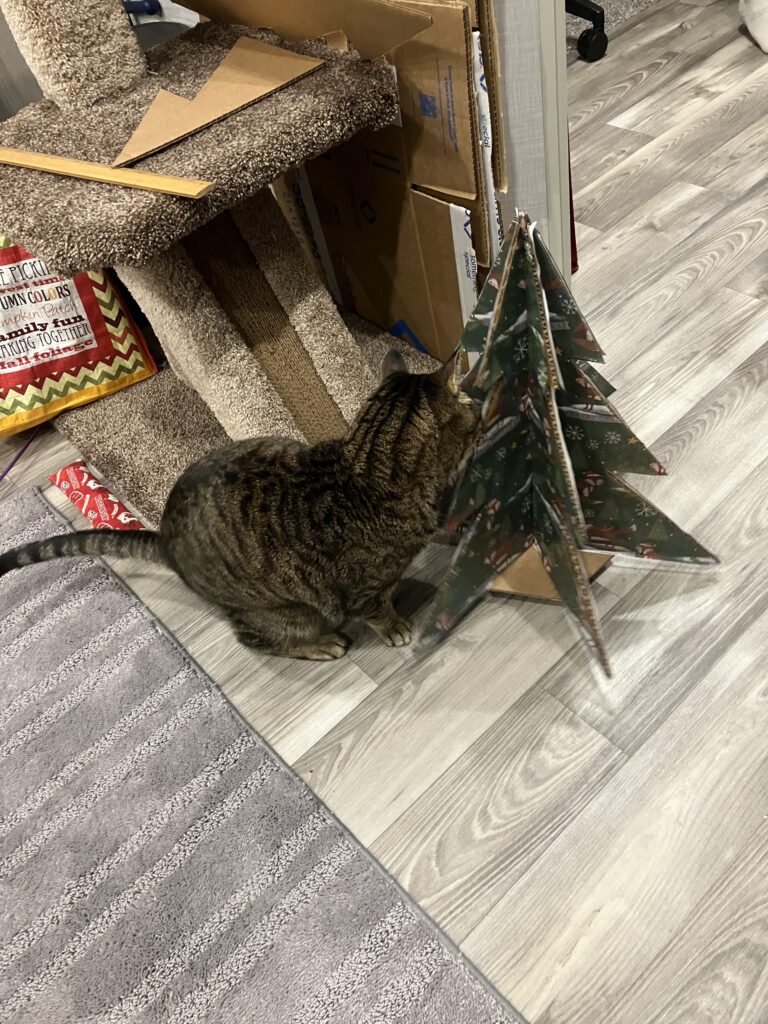
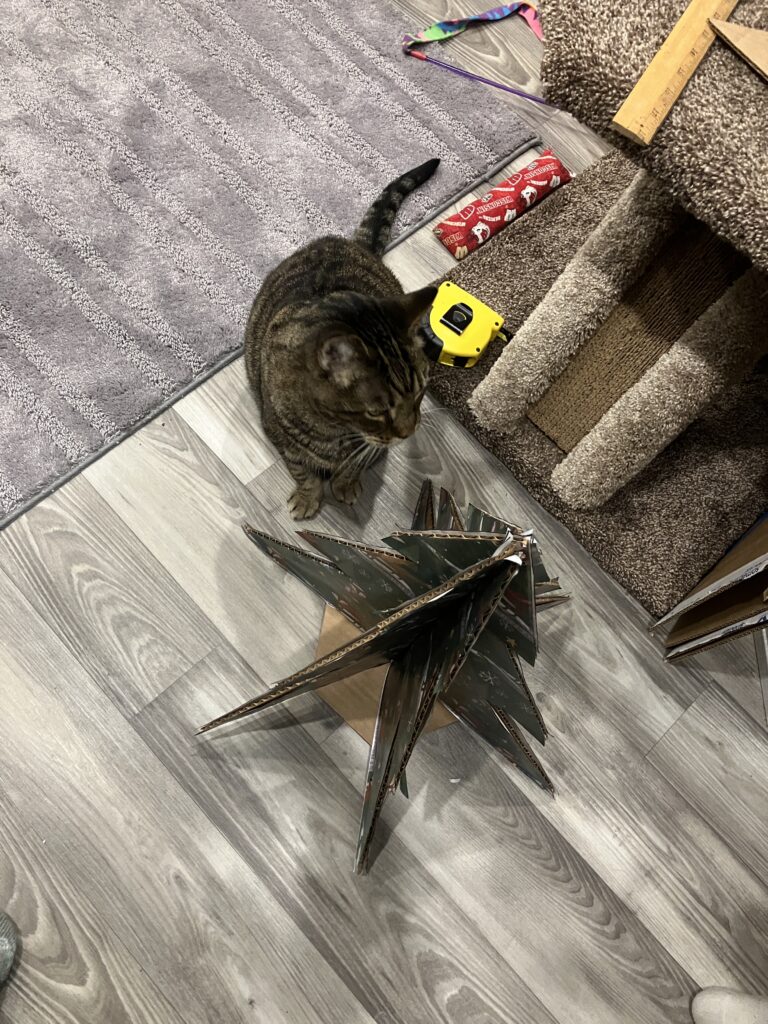
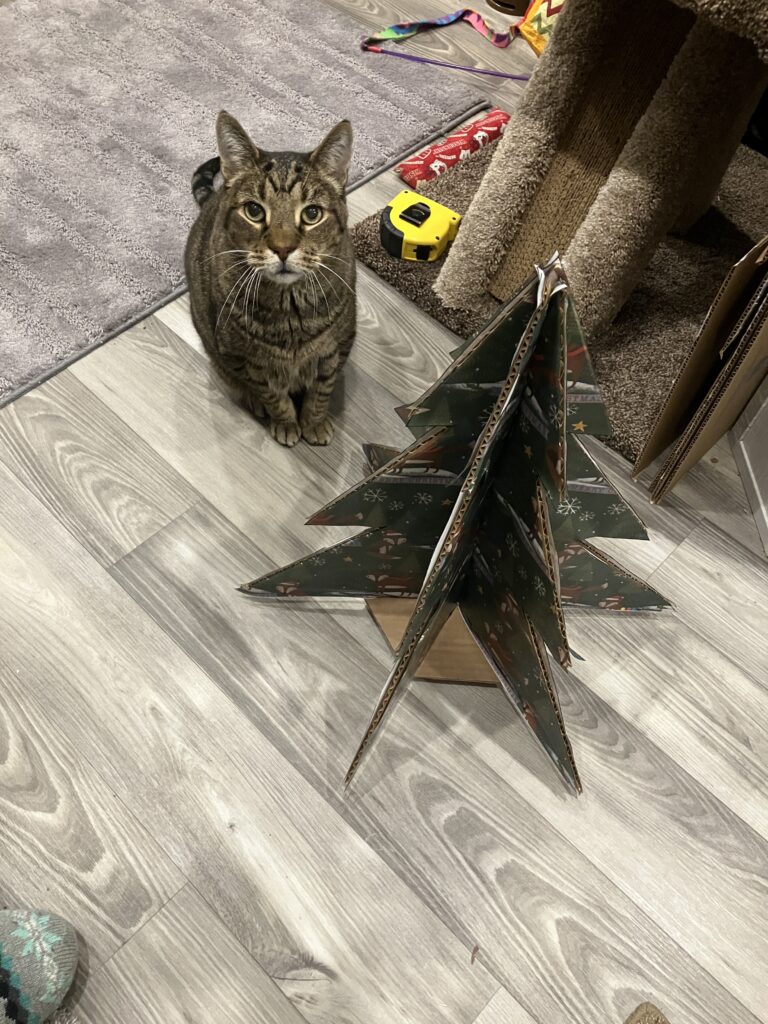
Bring in an expert to inspect your Christmas tree for flaws. It is better to catch them before you start decorating. Once it meets the approval of your inspection team, you can proceed to decorate it. (The best part is that we pay him in temptations cat treats.)
Decorate Your Tree
We were not willing to use tinsel for fear of the cats eating it. We did salvage plastic bulbs from a Christmas light cord that was no longer working. We decorated the tree with the bulbs and an aluminum foil star.
Prominently Display Your Tree
We put ours up on top of the cat stand because we did not really have room any where else. It also seems to keep it out of sight and out of mind of the cats.
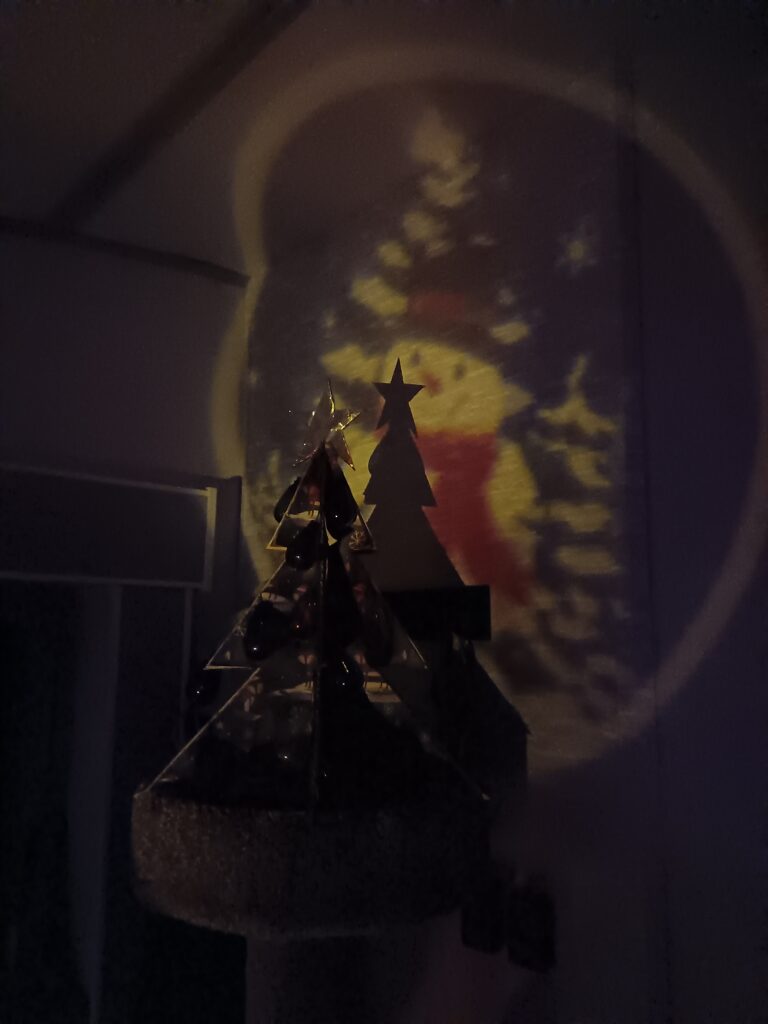
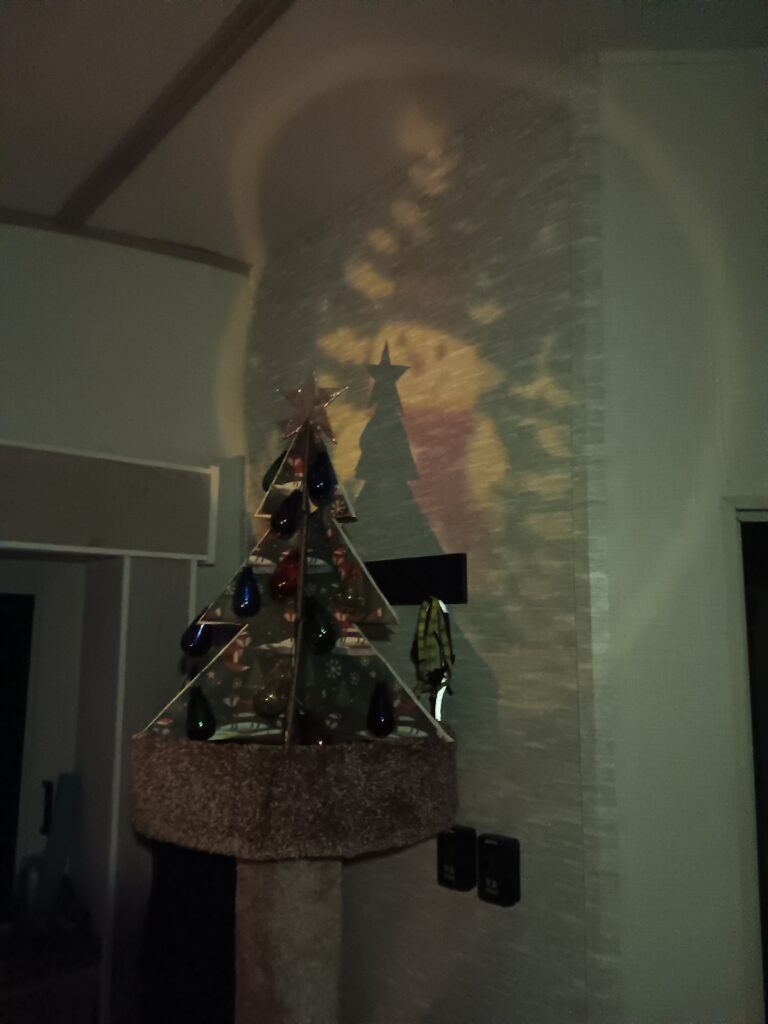
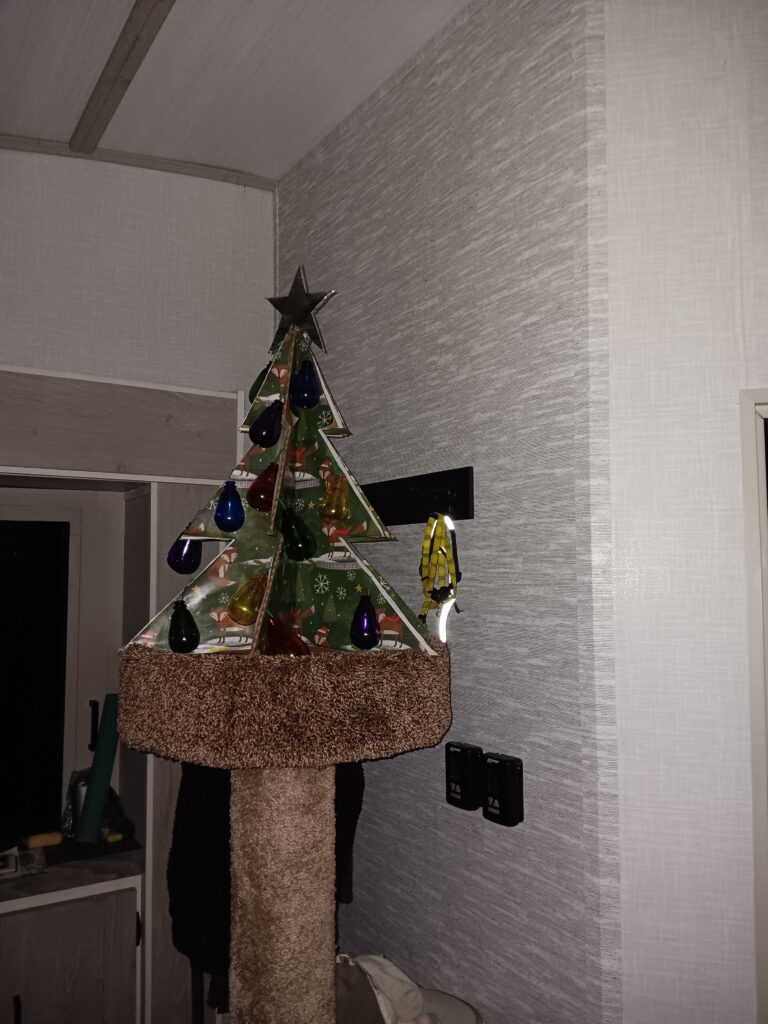
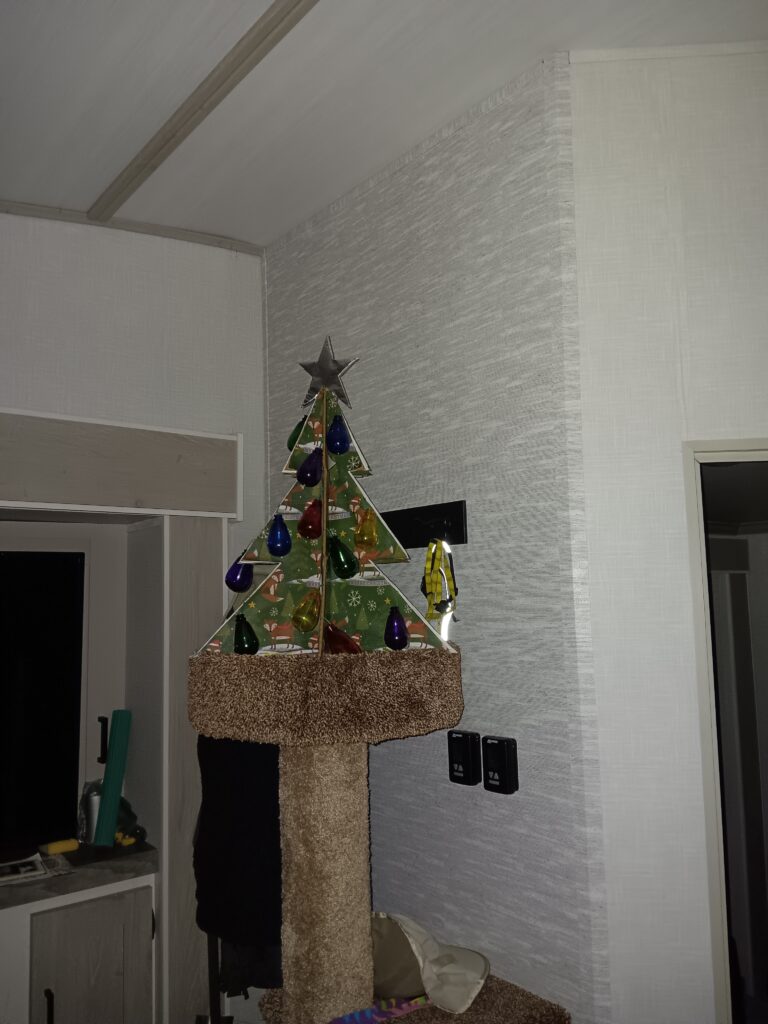
In order to avoid being wasteful, we made ourselves a Christmas tree out of leftovers and trash. (We actually tossed the bulbs in the dumpster and had to retrieve them.) We will just keep the bulbs and build another one next year – with only two panels.
Merry Trash-mas and a Happy New Year!

