Hillsdale State Park, KS, October 2025
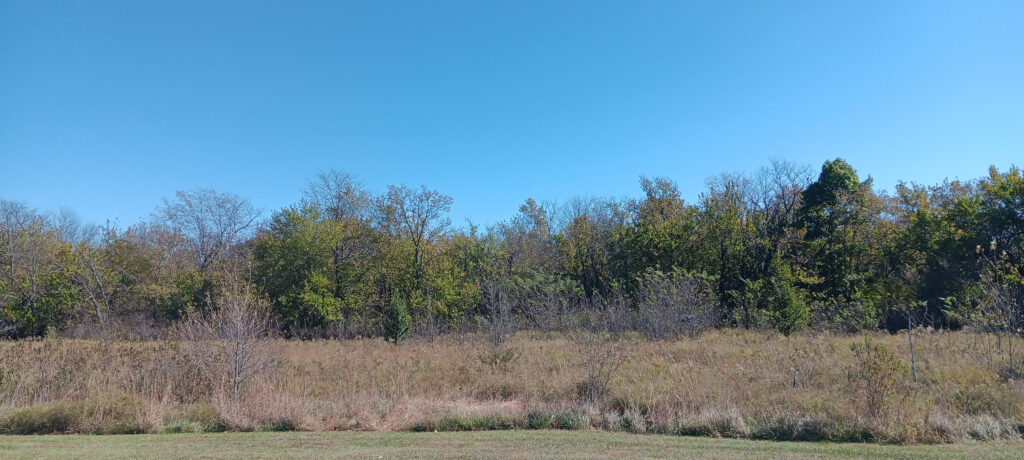
The view at the RV Maintenance Facility we are using is pleasant.
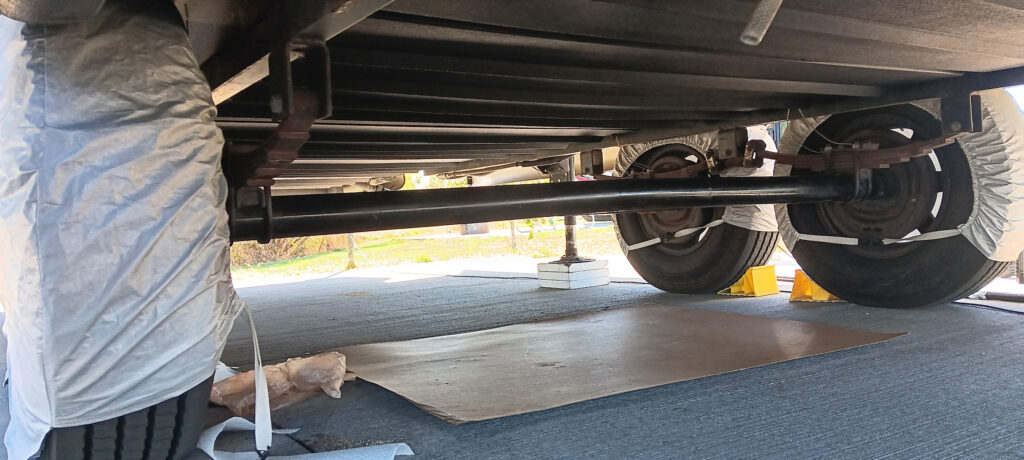
The amenities are a little bit lacking. A Sam’s Club palette sheet instead of a rolling mechanic’s creeper? At least the cardboard is free!
Our current RV is holding up better than our first one, but we found that the powder coating on the metal frame and axle leaves a lot to be desired. We did not maintain the frame on our last one as early as we should have. It was not disastrous, but it was a lot of work, when we got around to it. We decided to start earlier on this one. The biggest issue is the axles; both of them have a lot of blistering coating and rust.
The bad news is that repainting the metal is a bit of a chore. The good news is that Rustoleum is one of the few products that lives up to it advertising and reputation.
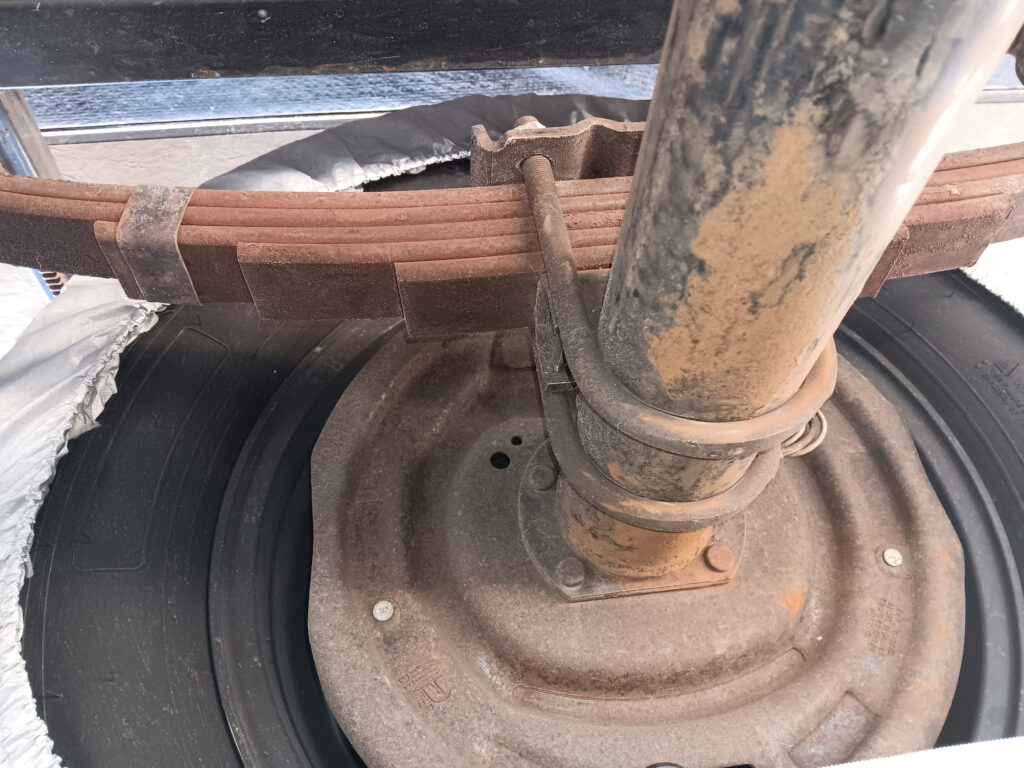
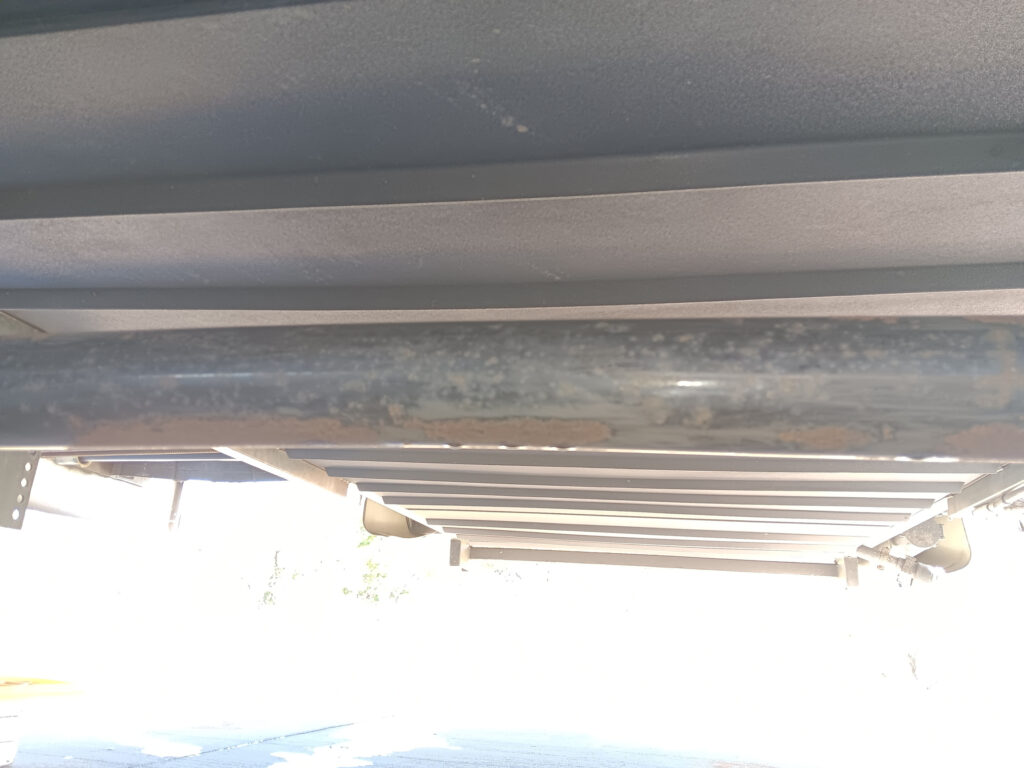
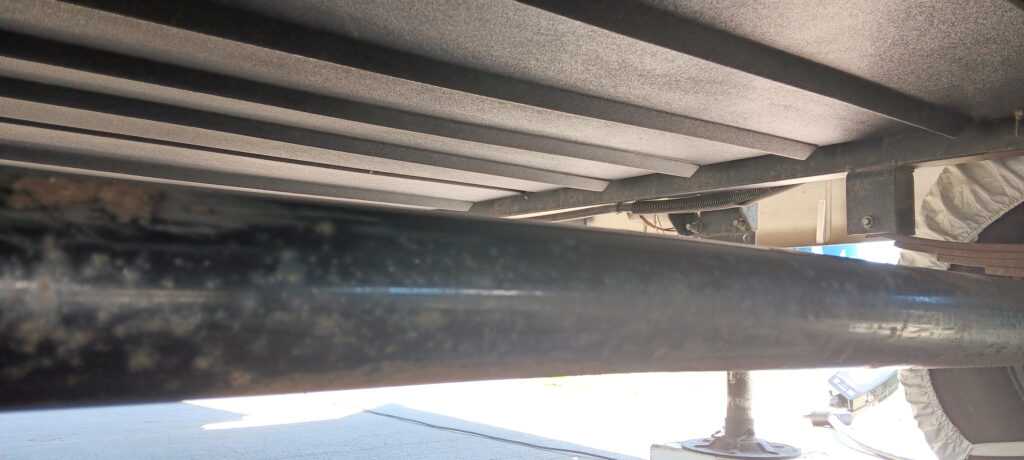
Step 1: Examine the metal framing and axle. If the metal is smooth, like our axles, you can see the obvious rust as the orange-ish brown sandy looking regions. In the picture below, you can see where the powder coating is blistered up in two areas near a little bit of rust. Those areas have rust under the powder coating. Sometimes, there is only blistered powder coating without visible rust.

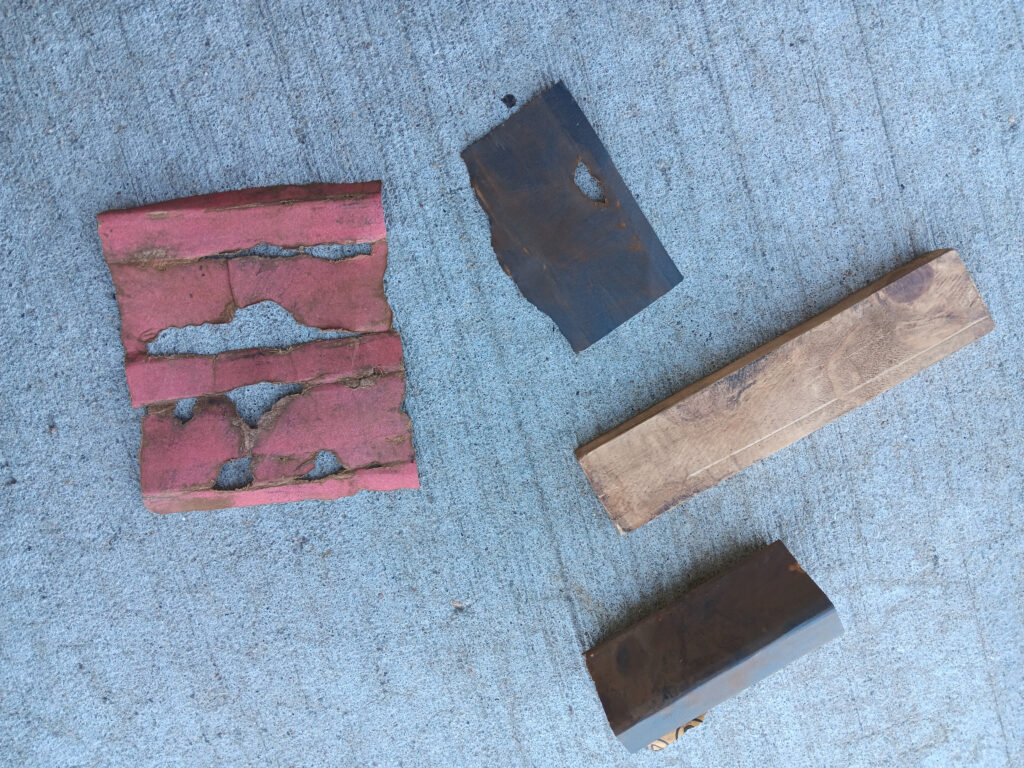
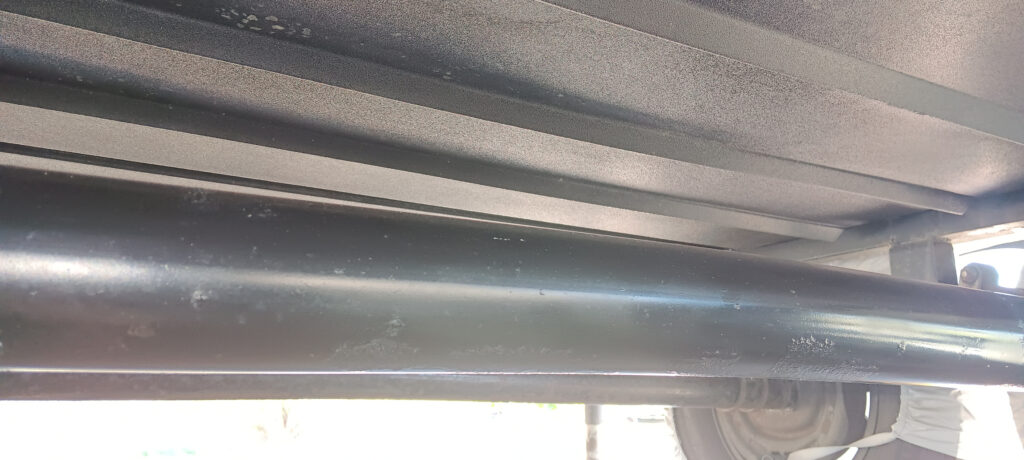
Step 2: Clear the rust and blistered powder coating. Sandpaper works well for this. A scraper might work, but it might scrape off intact powder coating. You start with a mid-range sandpaper around 200 grit to avoid excessively damaging the intact coating. You can finish up with a 400 grit emery paper. The advantage of the emery paper is that you can sand wet metal. As you can see, this process is rough on the sandpaper. You should have a few sheets to make sure you do not run out.
Around this time, the assistance maintenance technician showed up late, left early, and still wanted a full day of pay. We are pretty sure he is from the millennial generation. He probably played sports where everyone “wins”.
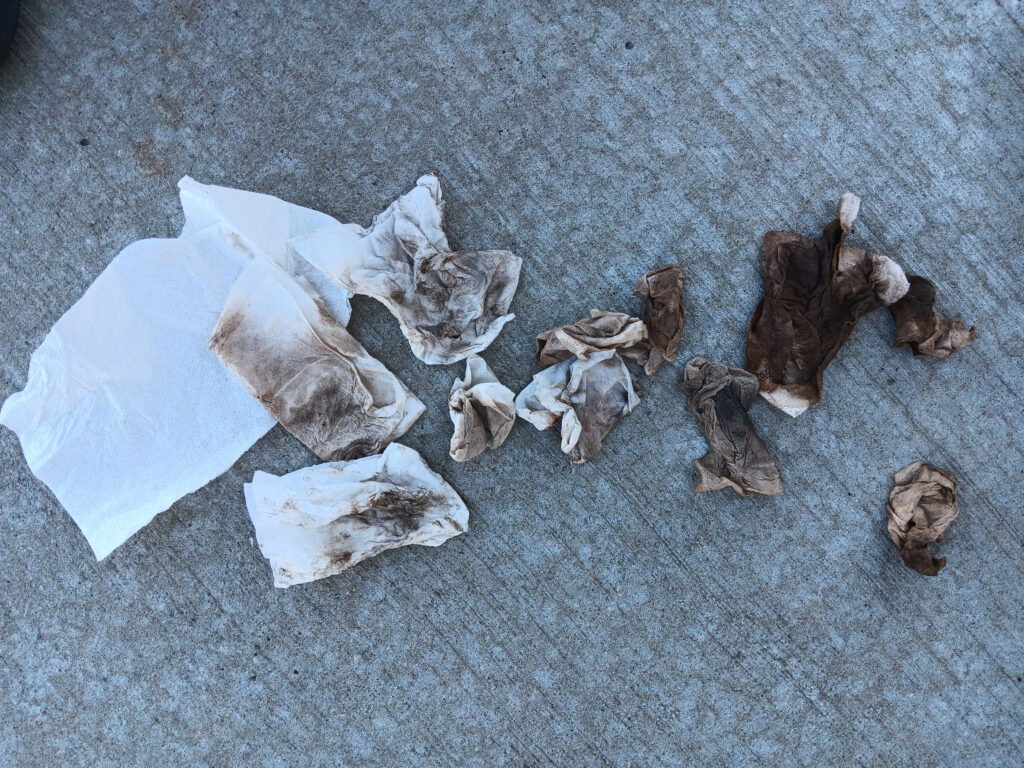
Step 3: Clean the sanded metal. You can see all the rust dust on the post sanding picture above. A little dawn dish detergent seems to work well for this. Paper towels are an easy wash rag because they can be thrown away. It might take 4 to 6 half paper towels to wash the axle, and another 4 to 6 to rinse it. Scrub down the axles a few times with the soapy water. The axle is probably still dirty.
To get it clean, pour rinse water over it and wipe it down with damp paper towels a few times. It will probably take a few wipe downs with damp paper towels before they come up clean-ish.
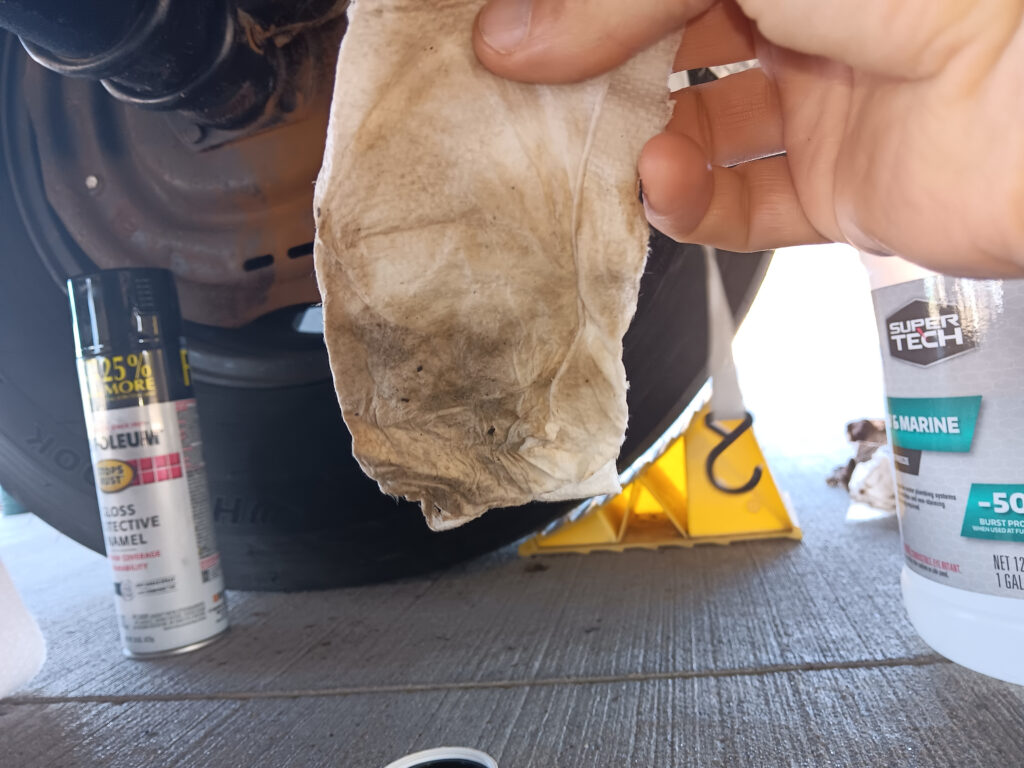

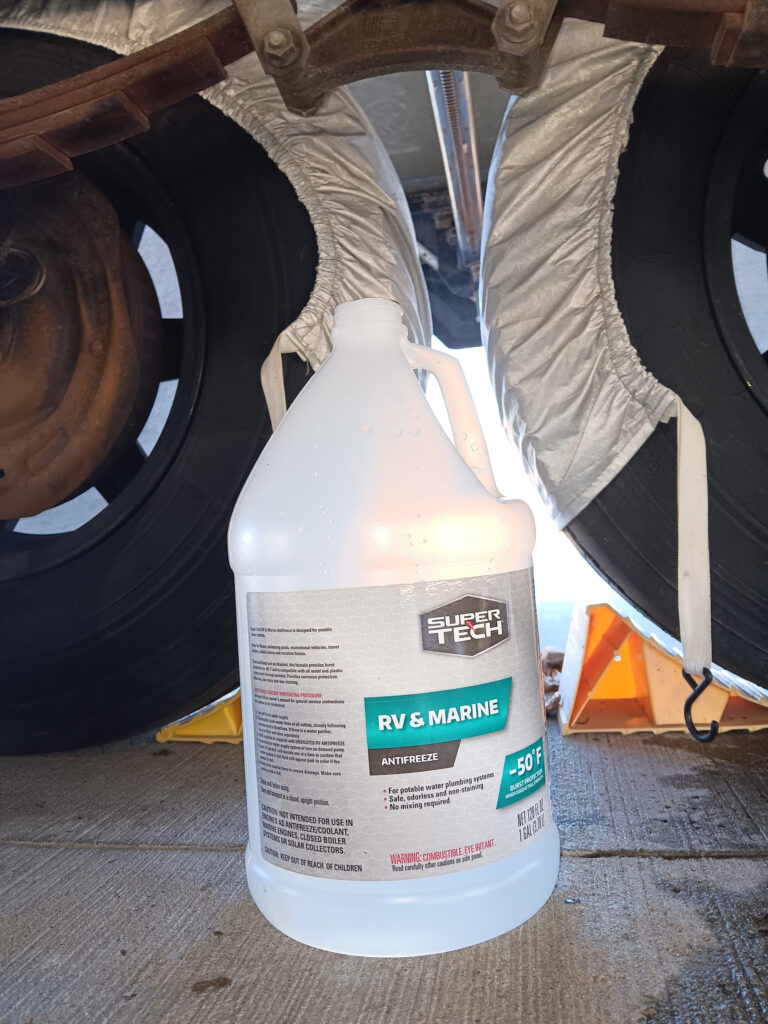
We keep an old winterizing fluid jug for tasks like this or flushing when the water is turned off. In the other picture, you can see the dirty to clean progression.
Step 4: Let the axle dry. You do not want to paint a wet axles. Depending on the humidity, temperature, and wind, it might need a few hours.
Step 5: Spray paint the axle. Follow the directions for your spray paint. Avoid doing this on cold or windy days. You will still see rough patches, but they should be protected and stop rusting. You will still need to check periodically because the original powder coating can rust in other places.
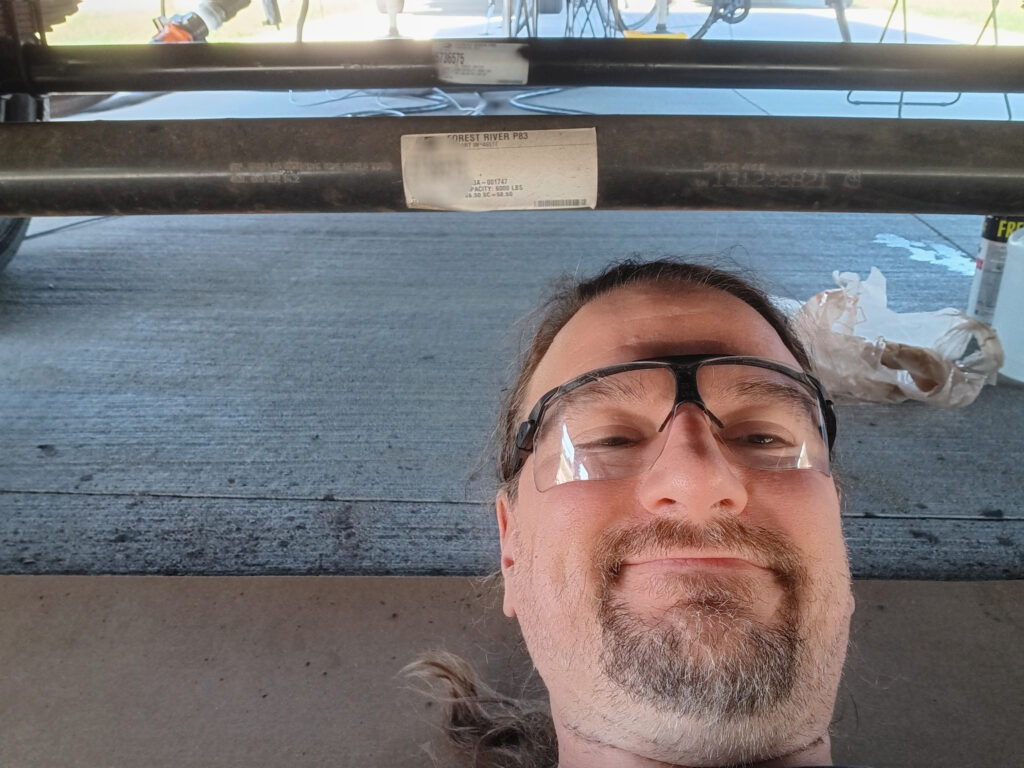
Step 6: You are not under your RV that often, so take a selfie.