Tulsa RV Ranch, OK, December 2025
No, this is not a substitute swear word. With the weather changing, having to setup a workspace, all the appointments, and unexpected emergencies, we were not sure the picnic table would get done before it was too cold to paint. (Other people’s emergencies, not ours.)
It should have taken about 16 to 20 hours, but in addition to the interruptions, several things changed with the plans. In reality, it took closer to 32 to 40 hours, including the painting. That time is the actual work building the table, not planning, driving, or buying parts. If you add all that time in, John’s wage drops from $0 per hours to, well, $0 per hour. It turns out that your hourly wage does not change much, when you are not getting paid.
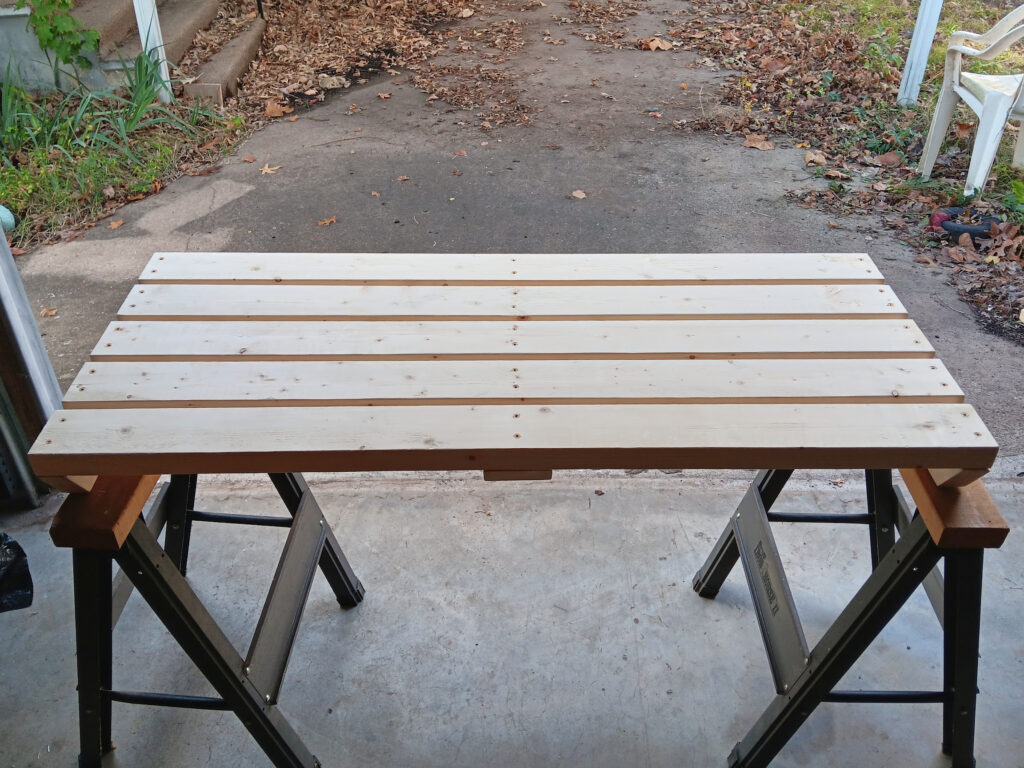
The first step was to make the bench seat. The seat is composed of three 48″ long 2″x4″ boards spaced to be 12″ wide. The sides supports are 2″x3″ vertical inset by a 2″x3″ width, and the middle support is a 2″x4″ horizontal. Having the side supports near the ends help to prevent the ends from warping in different directions. The middle support helps to ensure all the boards are loaded, if you sit on the edge of the middle.
48″ wide is a little narrow, but it is plenty for two people. If you add a cat, the space is a little tight, but it saves on wood cost to just half a 2″x4″ board. It helps that it does not have arm rests.
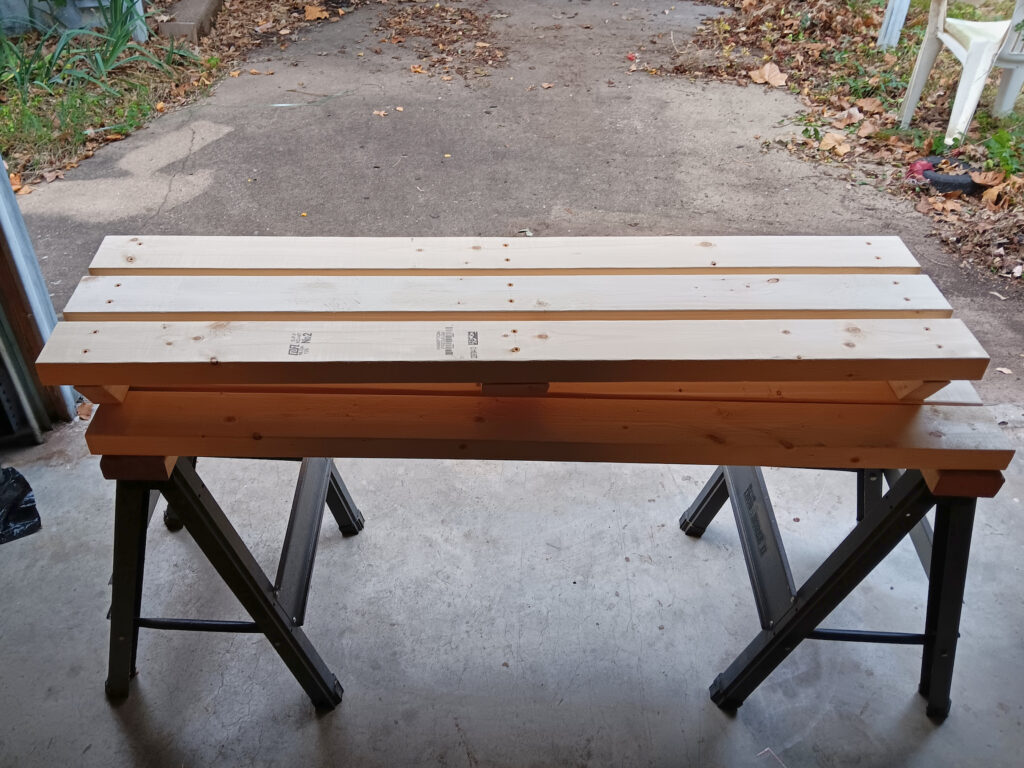
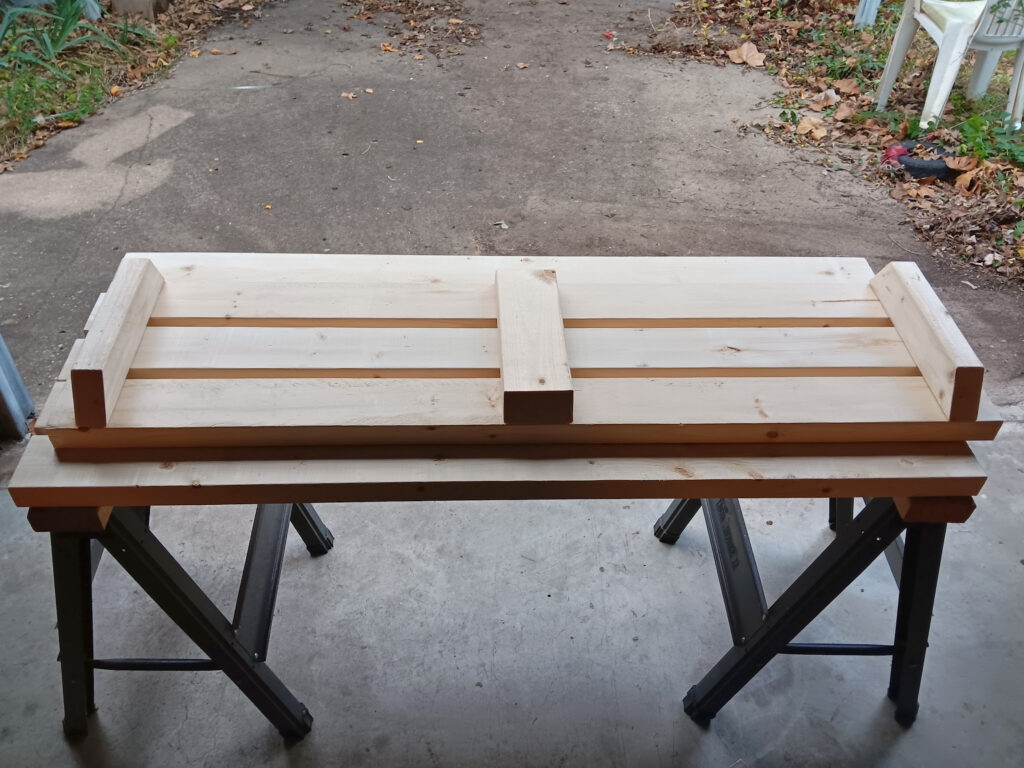
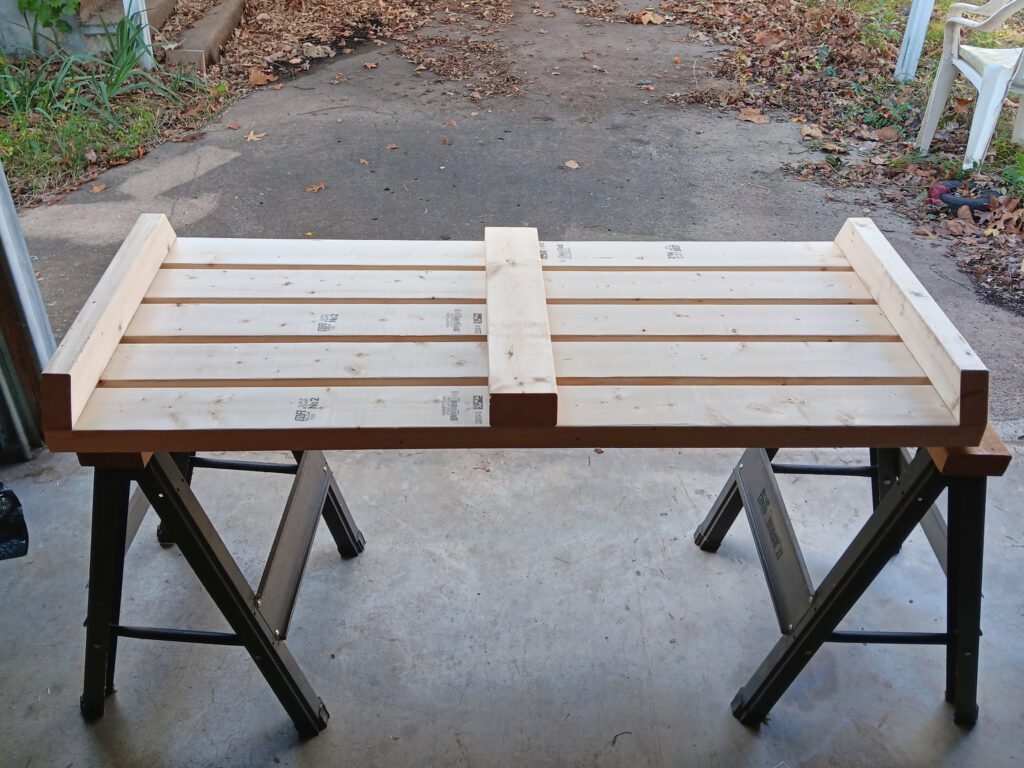
Next, we made the table top. The table is composed of five 48″ long 2″x4″ boards spaced to be 20″ wide. The structure is the same as the bench, except the 2″x3″ vertical supports are at the edge. This difference has to do with how the frame is assembled.
This workbench top is a very old palette skid that John’s dad used as a workbench for about 30 years in the house he grew up in.
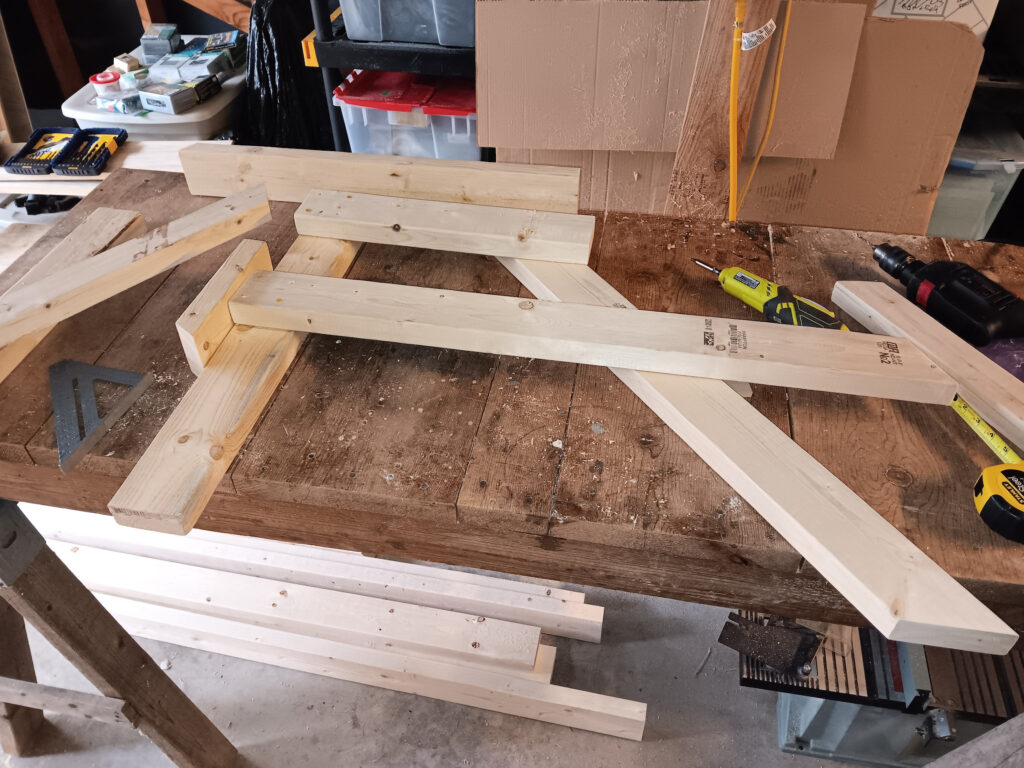
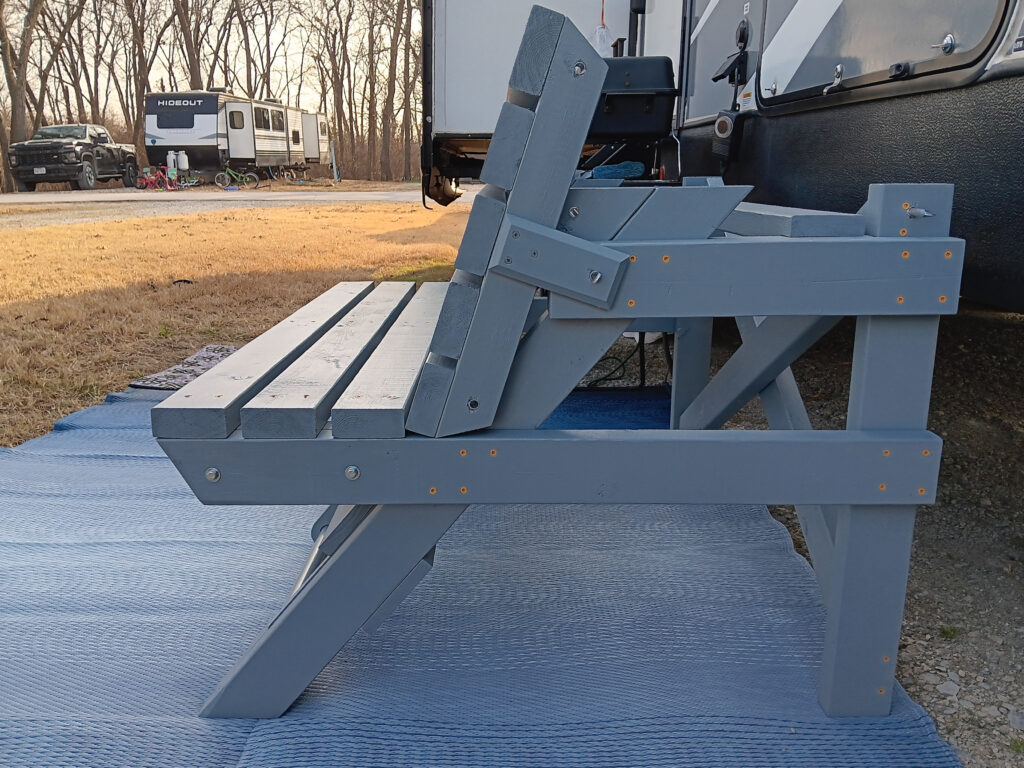
The third task was to make the frame. The bench/table uses a modified A-frame where the back support is pushed in to be vertical with no bench on the back.
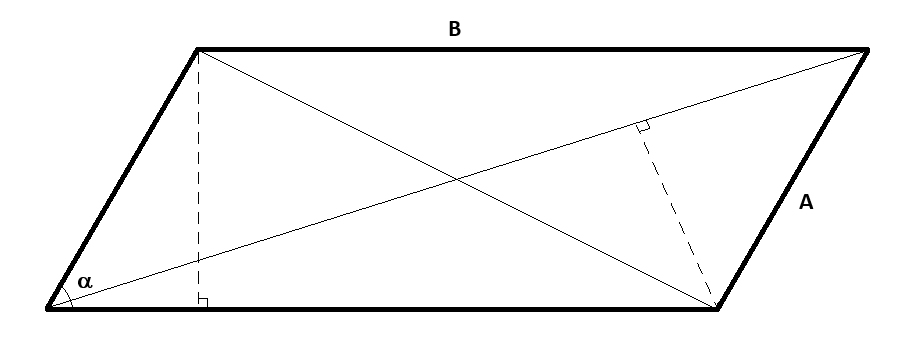
If you do not do any carpentry, you might be surprised to find out that making accurate 90 degree angles is hard. The issues include problems such as wood is not perfectly straight, amateur tools are not 100% accurate, and triangle/T-squares are too short. One of the best ways to verify a 90 degree angle is with the Pythagoras Theorem.
What? Math! Oh, the Humanity! How could you! Thinking is for losers!
Yes, yes, I know. Math is hard. Get over it. Take a minute to learn something.

You can use a triangle, a square, etc., but every time John has used those, the angle is a tiny bit off. A better way is to line up the two boards (i.e., green and red) to roughly 90 degrees using a T-square or triangle and put the outermost corner screw in to make a pivot. You measure the inside edge of the two boards (i.e., A and B) to calculate C. You measure from corner to corner, pivot the boards to make the corner distance C, and put in a second screw to pin the boards at 90 degrees.
This process is for right angle that are not rectangles. The good news is that the easiest way to verify a rectangle has 90 degree angles requires no math.
Why didn’t you start with that?
BECAUSE LEARNING IS GOOD FOR YOU! SUCK IT UP!
Just measure the distance between opposite corners of the rectangle across the diagonal. If they are the same distance, it has 90 degree corners. If they differ, it is a parallelogram, not a rectangle.
You can see an exaggerated incorrect angle here that you can eyeball (or measure precisely) to see that the diagonals are not equal length. The dotted lines and and other markings are for a future post about geometry that people will probably avoid.
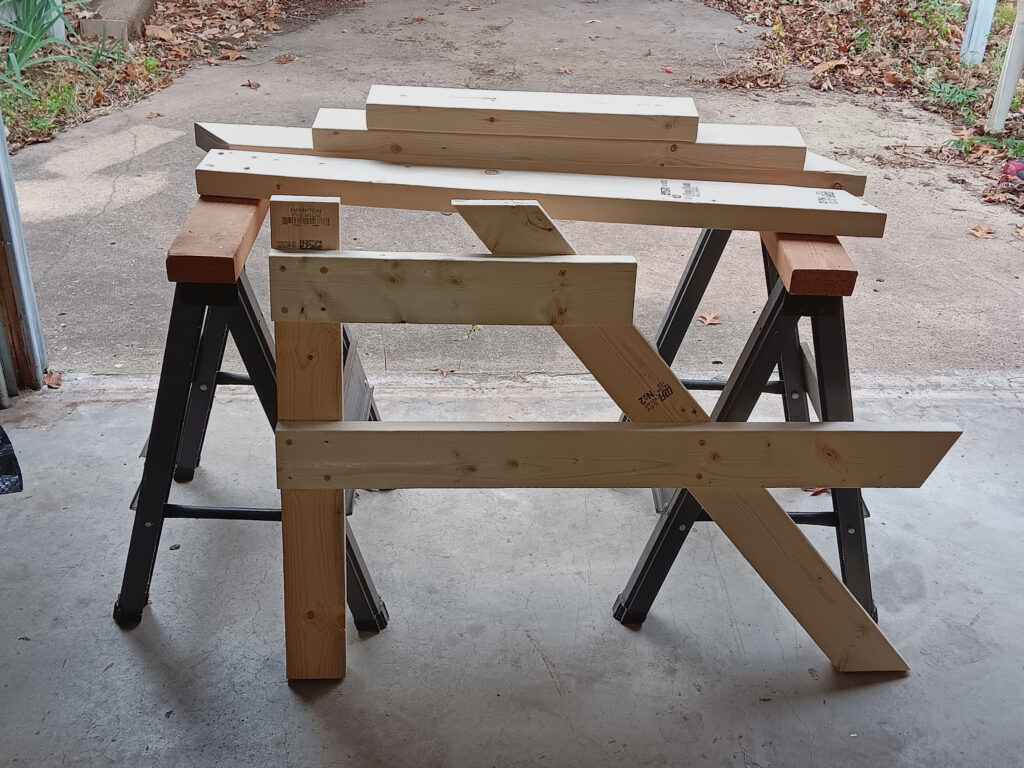
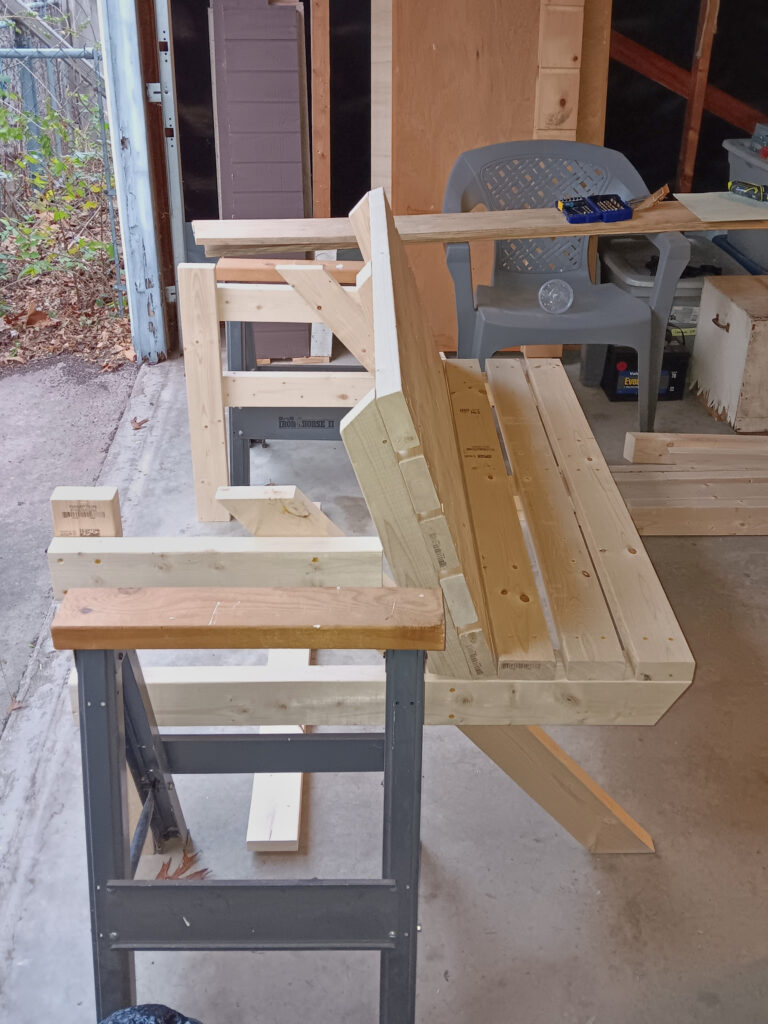
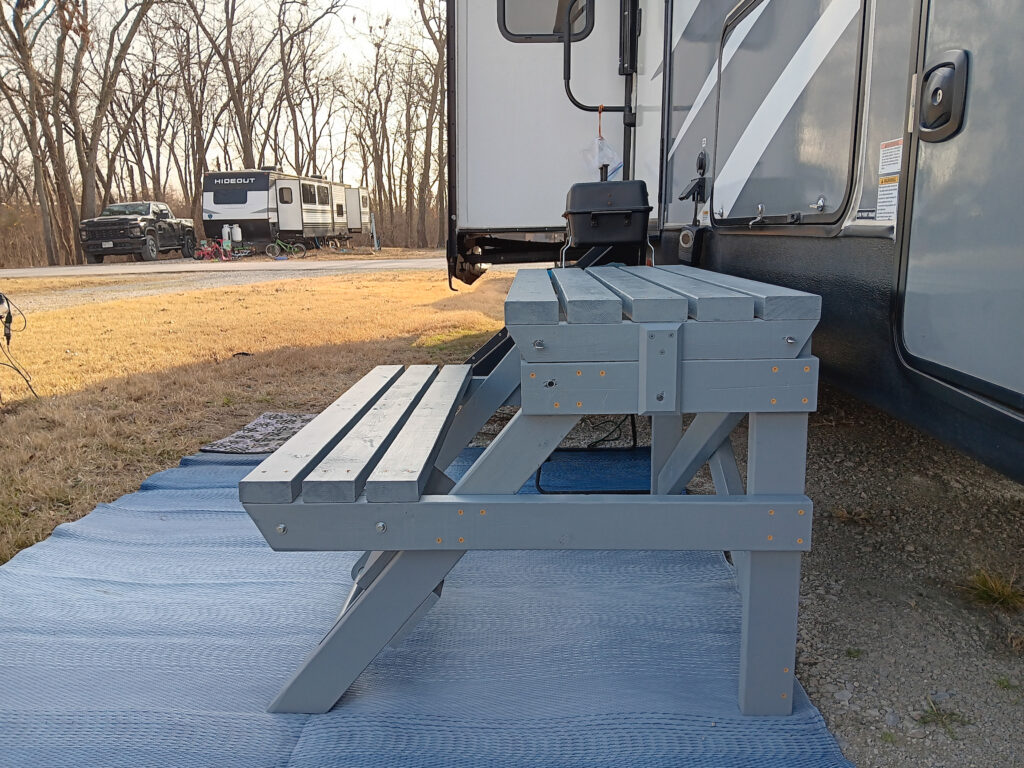
Here is the side frame partly assembled and fully assembled. You can see the modified A-frame with the back support vertical and no back bench.
And here are the bench and picnic table set on the side frames with saw horses holding them up.
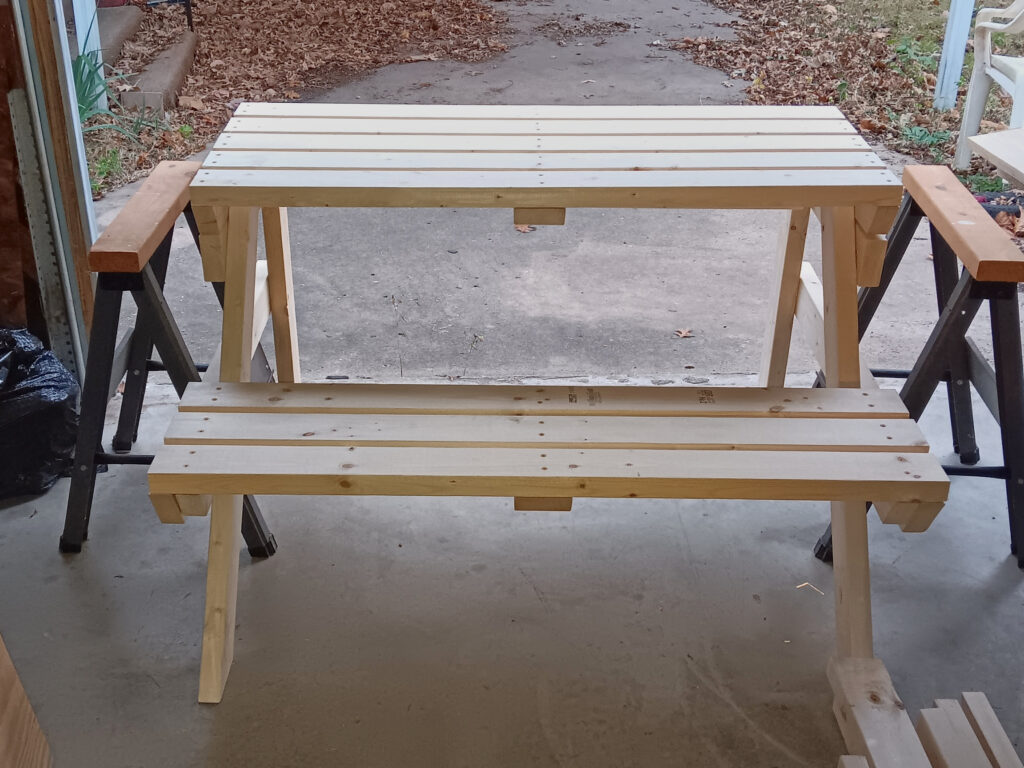
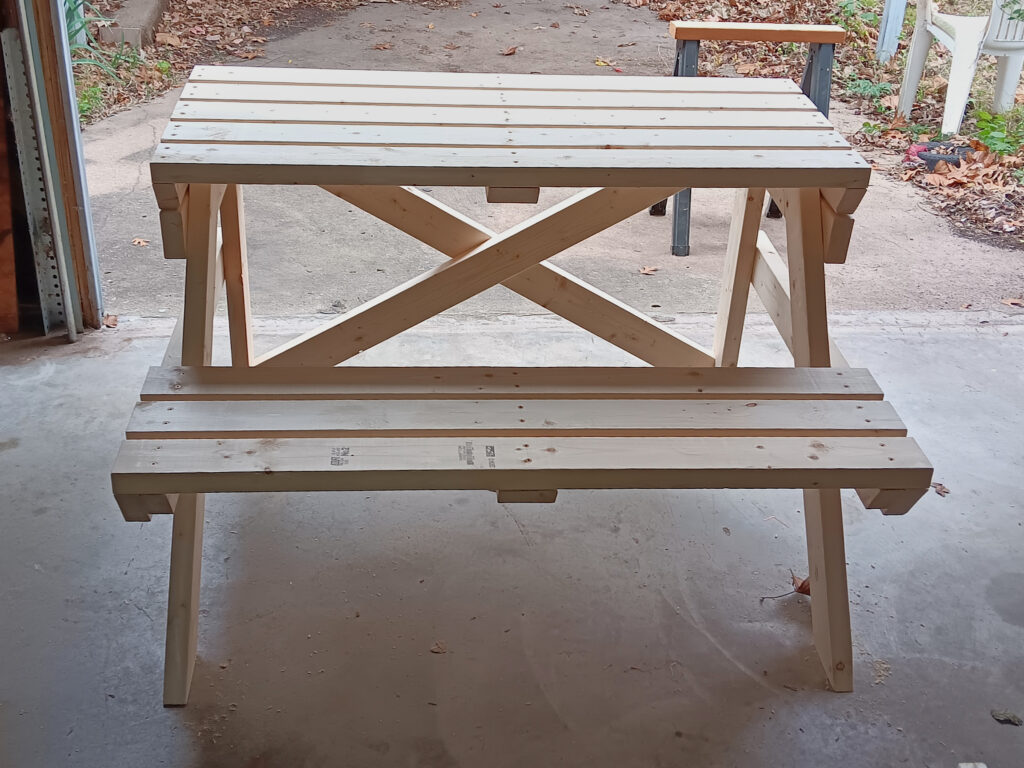
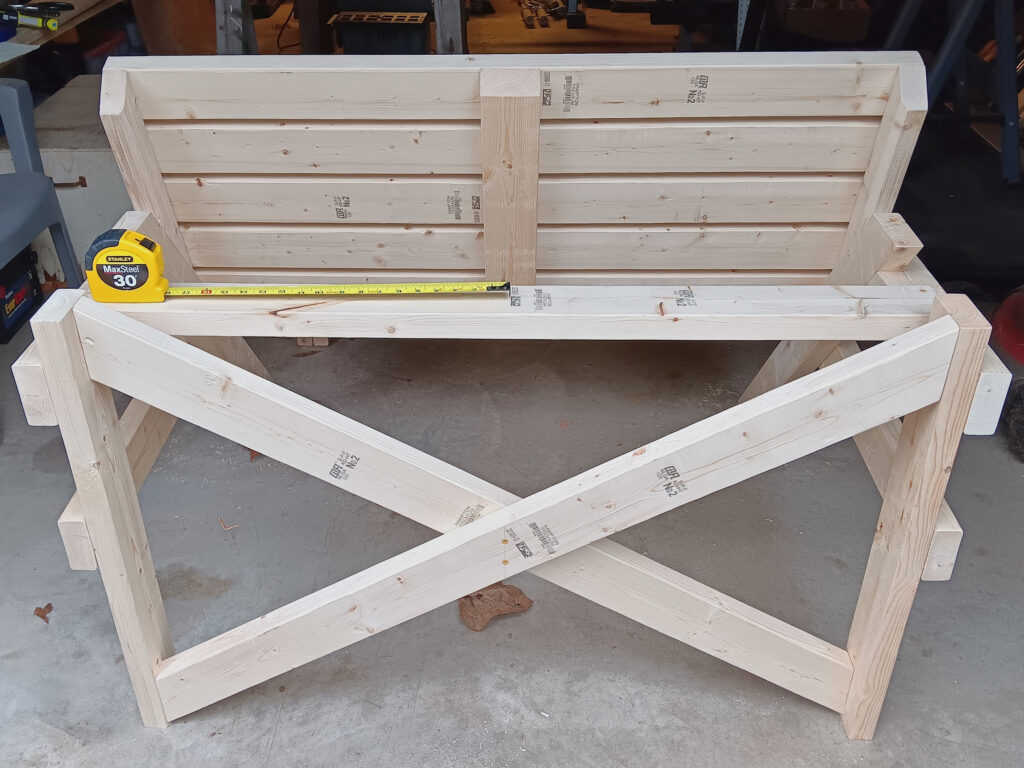
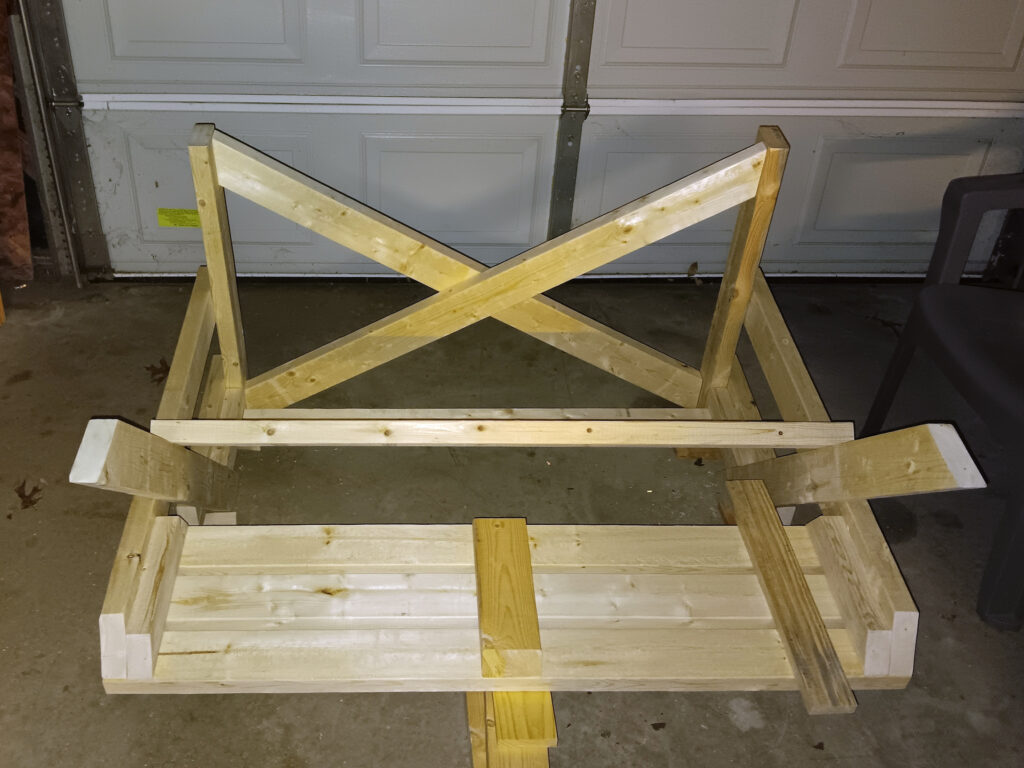
This is where things started to change a little. The original design had a board across the center of the top with braces going to the bench rails to support the table top. This did not seem like enough support, so an X was put across the back. Due to this change, the top support could have been centered instead of put towards the back. Here is the table with the center support and X.
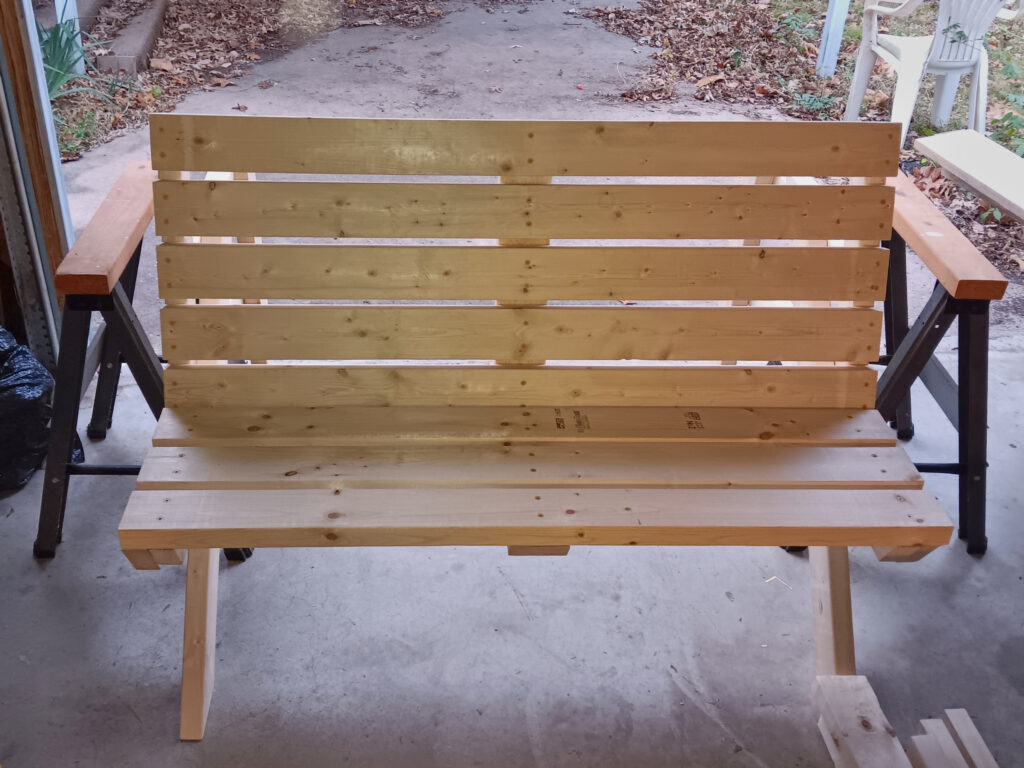
And here is the bench. You can see the top support in the back view of the bench The tape measure is sitting on the top support.
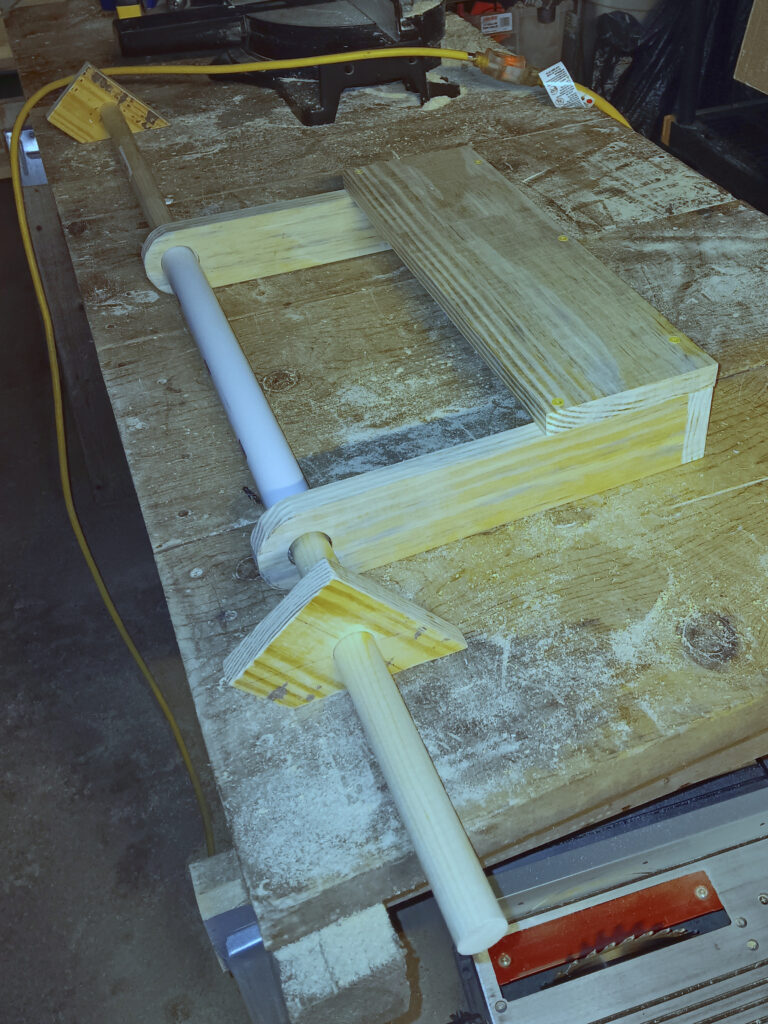
And here is where the next change came in. Kate tested the bench, and her feet did not touch the ground. To solve this, John built a foot rest that could flip up out of the way and slide to whichever seating position Kate used. Here is the foot rest and the front support to keep the frame in shape, when the bench is removed.
The next big change was when we realized that the wingnuts would not work because there were three layers of wood at one of the linkage pivot points. We bought Tee-nuts to solve this problem, but in the end, we decided to leave out the linkage. We might look into that next year.
Next, the bolt points were added to the bench seat, pin points to the table, and backrest pin points added to the table top in bench configuration.
Lastly, we realized that Kate was going to need a foot rest for the picnic table and bench. The front support was removed, and the foot rest was made reversible. The foot rest was installed, and a stop was added on one side to allow the footrest to be stowed upright.
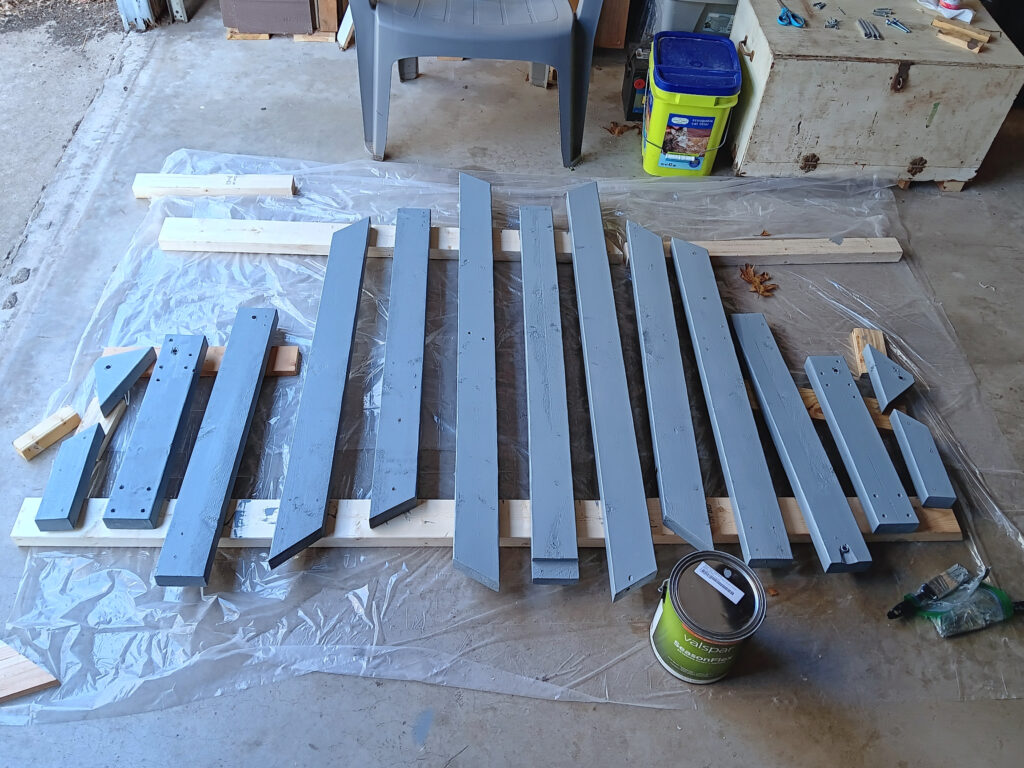
And now, the painting. We bought a medium grey paint to match the RV; it is close to Battleship Grey. To ensure coverage between the boards, the entire thing was dismantled and set out on plastic painting tarps.
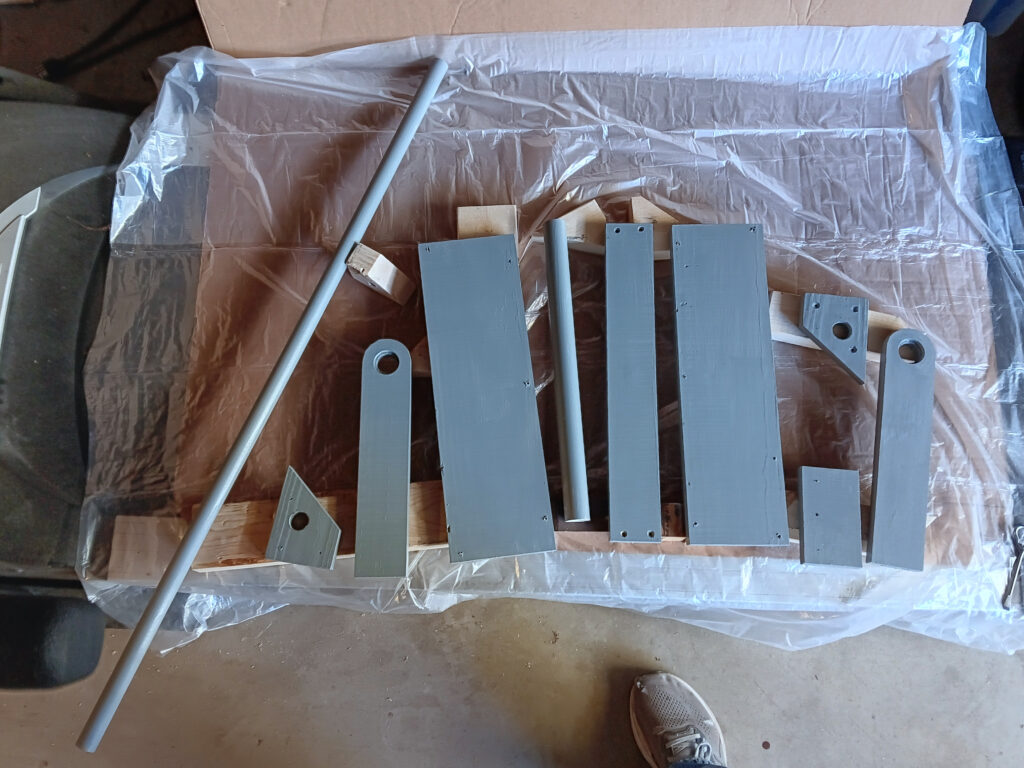
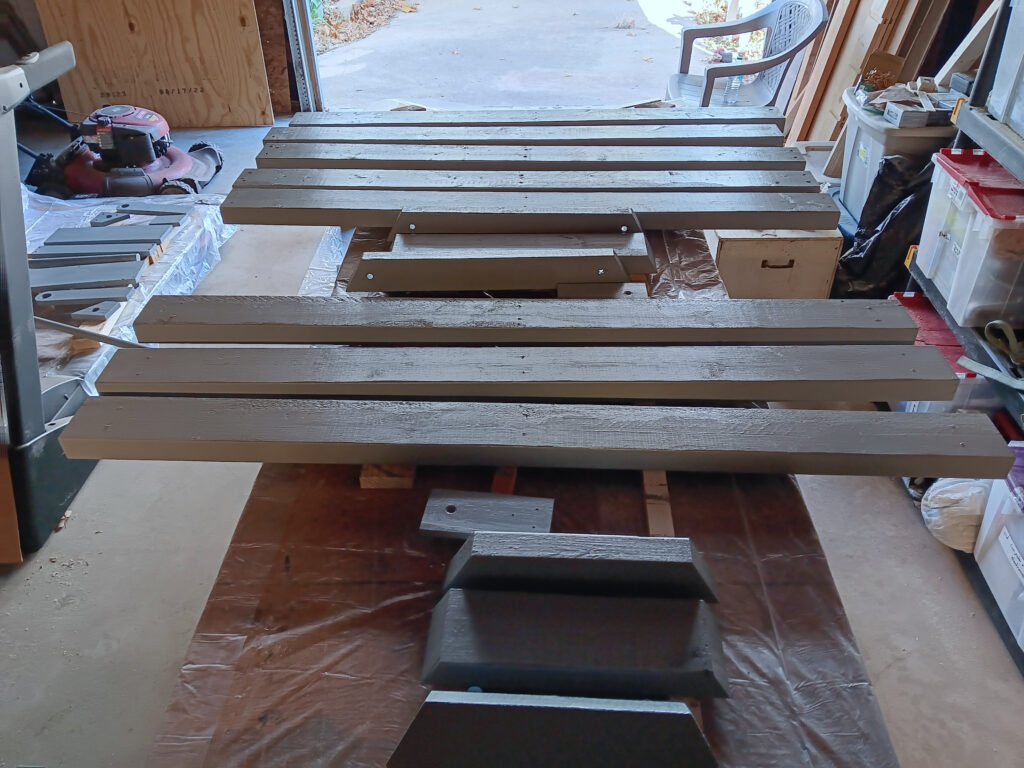
That is a lot of parts. Fortunately, we remembered how to put it back together.
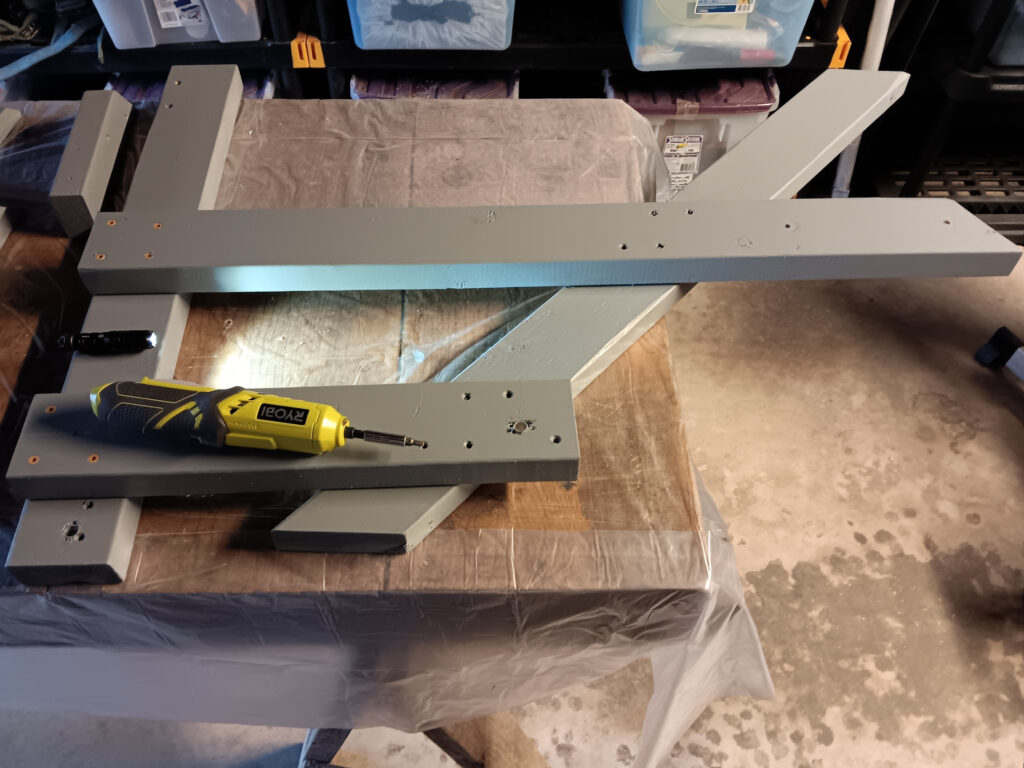
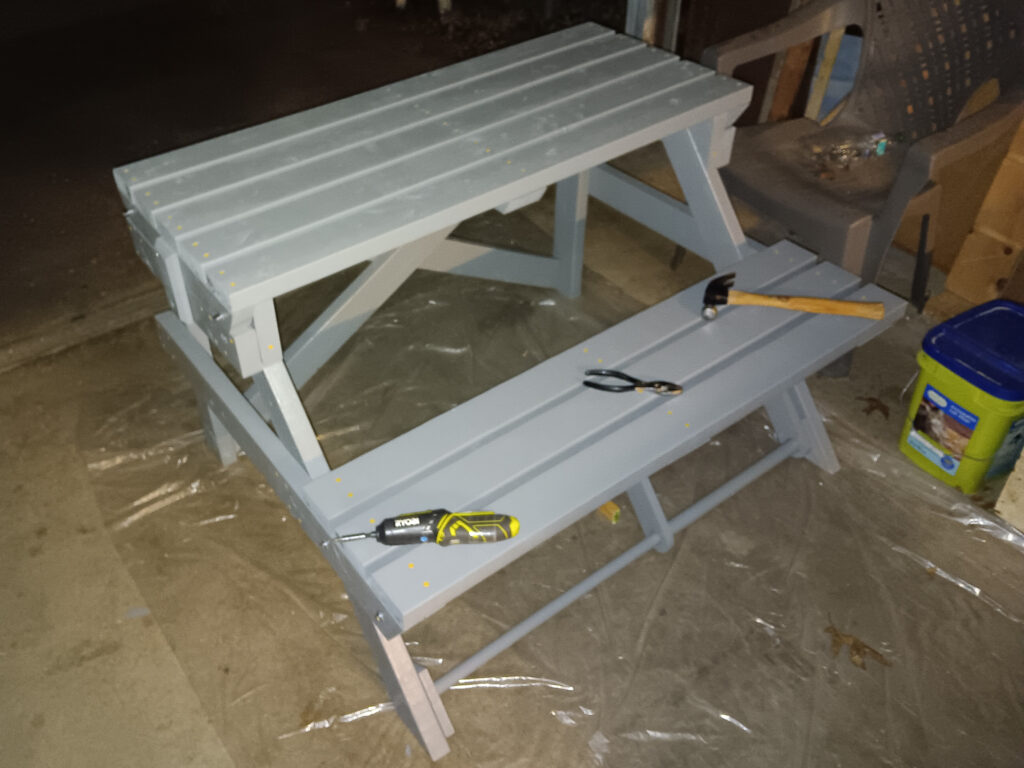
Sadly, it took three hours to assemble. One problem was that the electric screw drivers ran out of power. Another problem was that the existing screw holes were not quite enough to keep things square, so everything had to be re-squared.
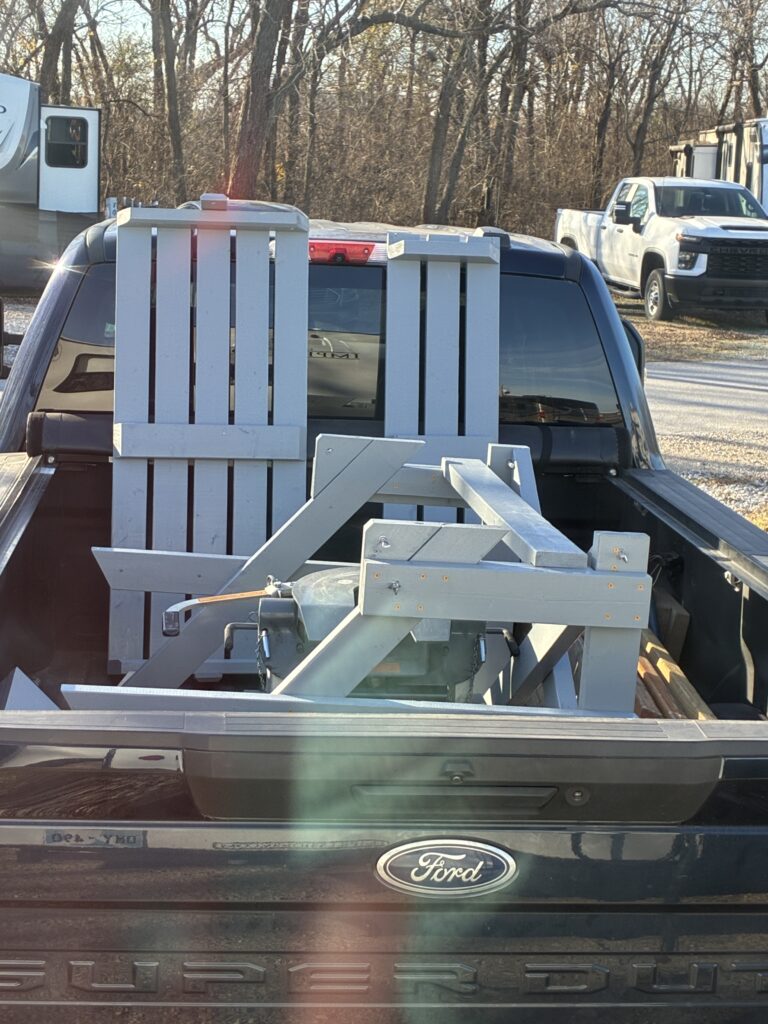
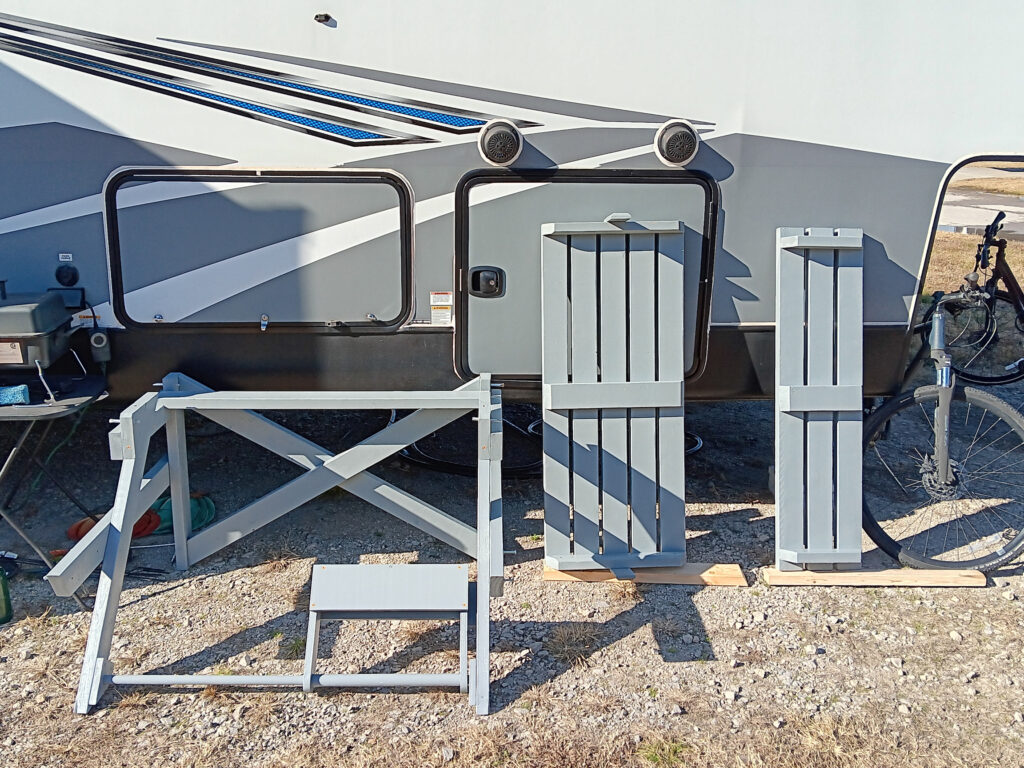
It was pretty easy to organize and stow in the truck, because it breaks down into three pieces. (No, we did not drive with the boards leaned against the cab.) We let it cure a few more days in hopes that the paint would not stick as badly as immediately setting it up.
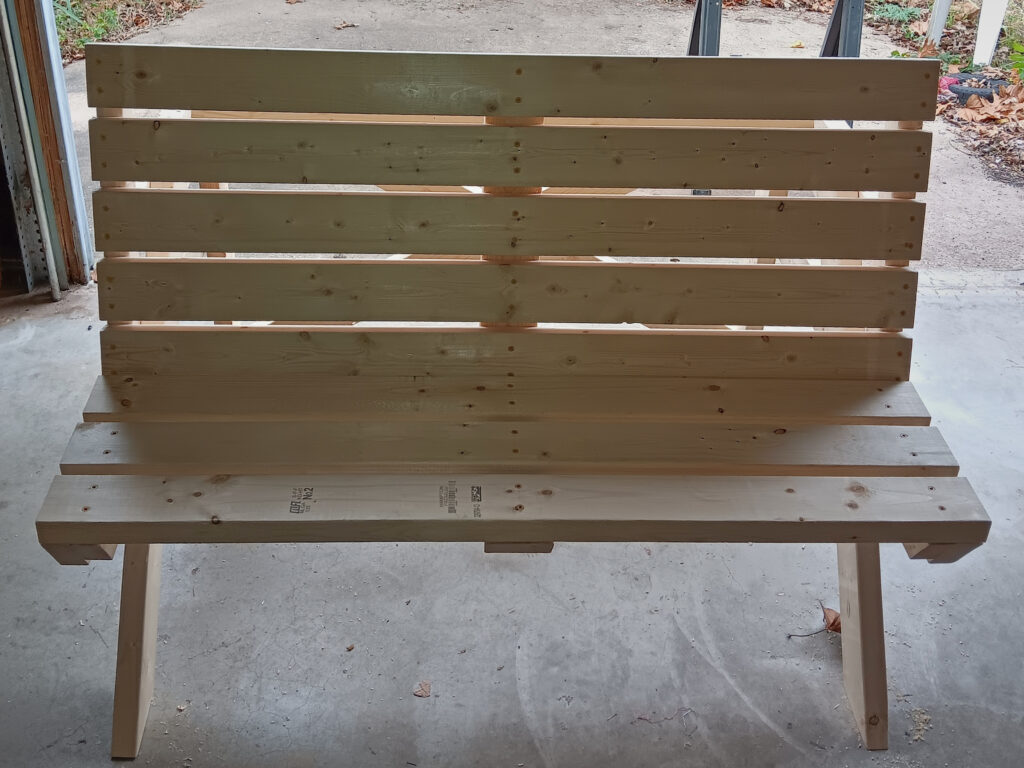
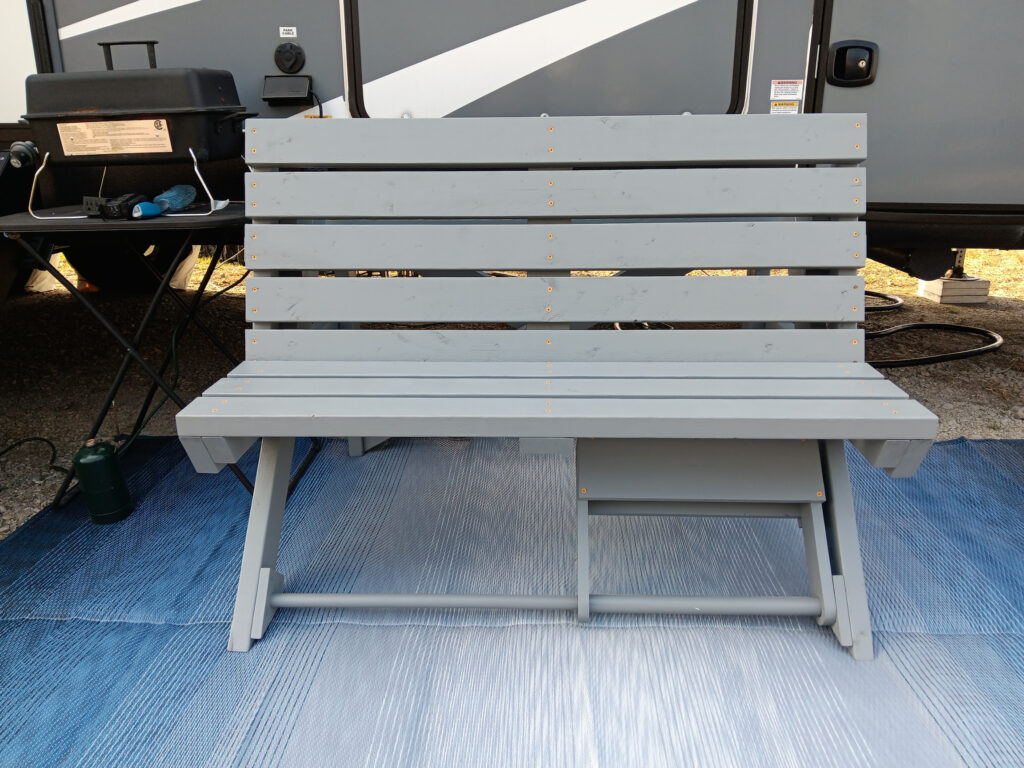
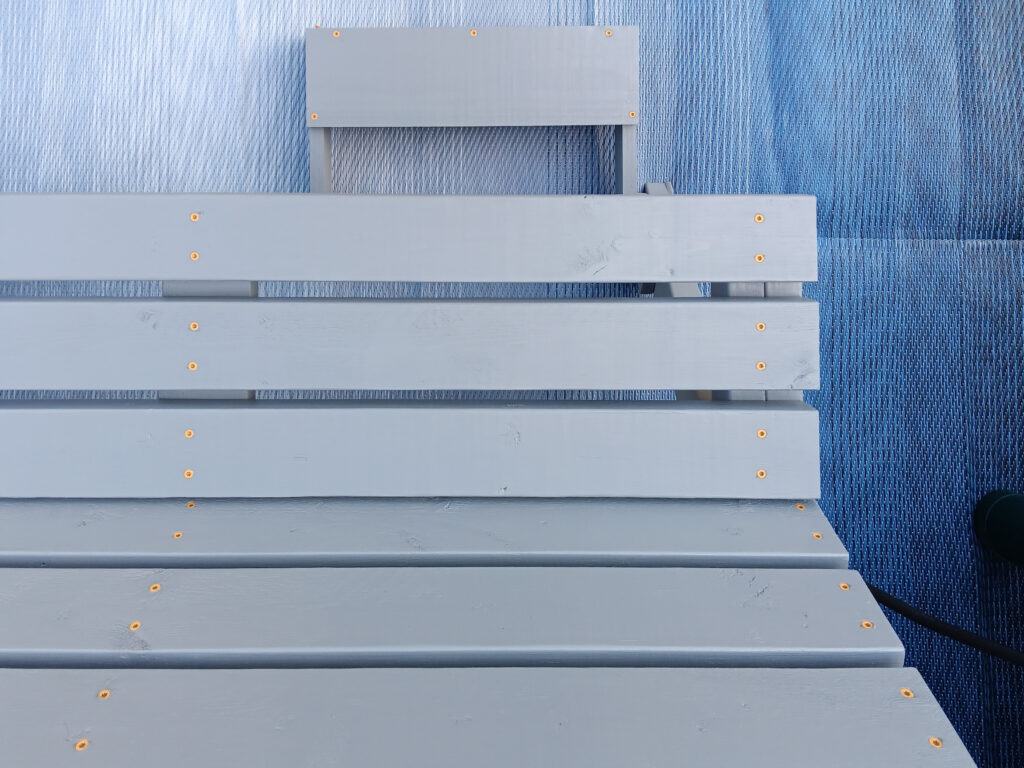
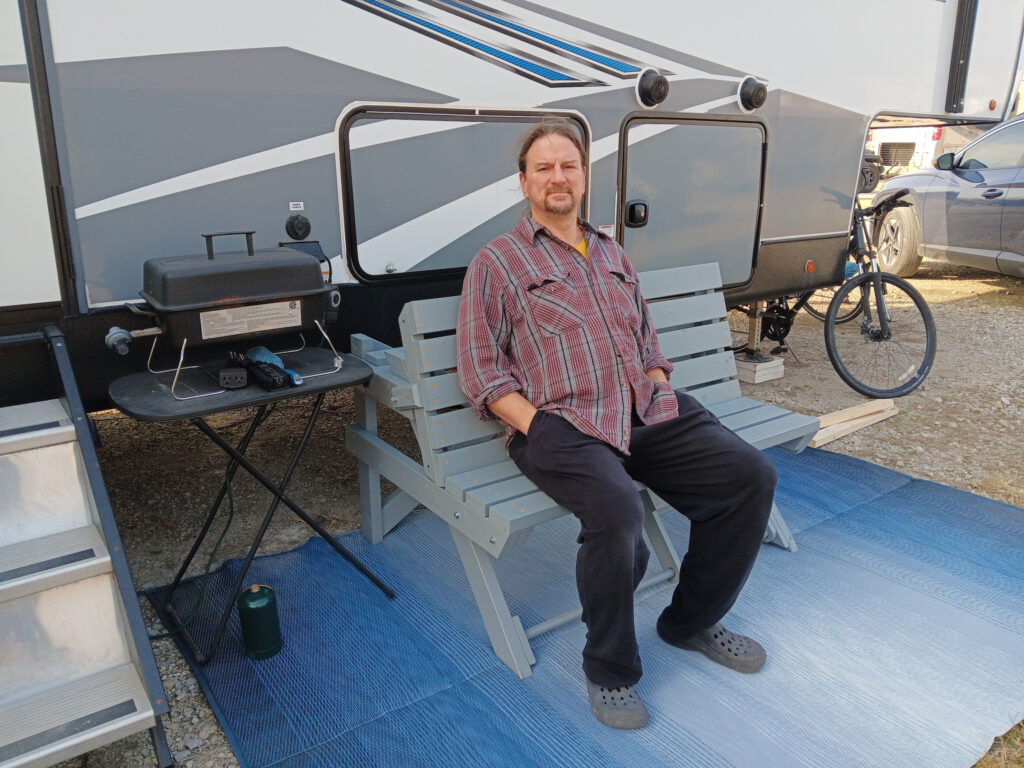
And this is the final product as a bench and table. There are four pin points for the table top and two pin points for the bench backrest.
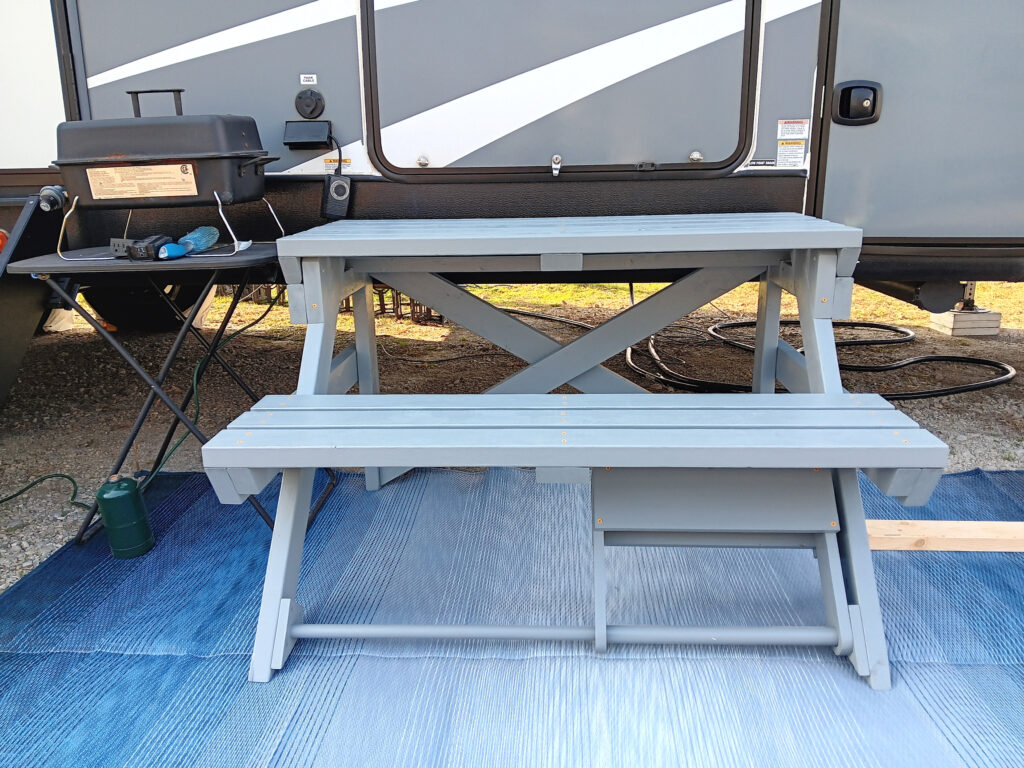

And here it is in use.
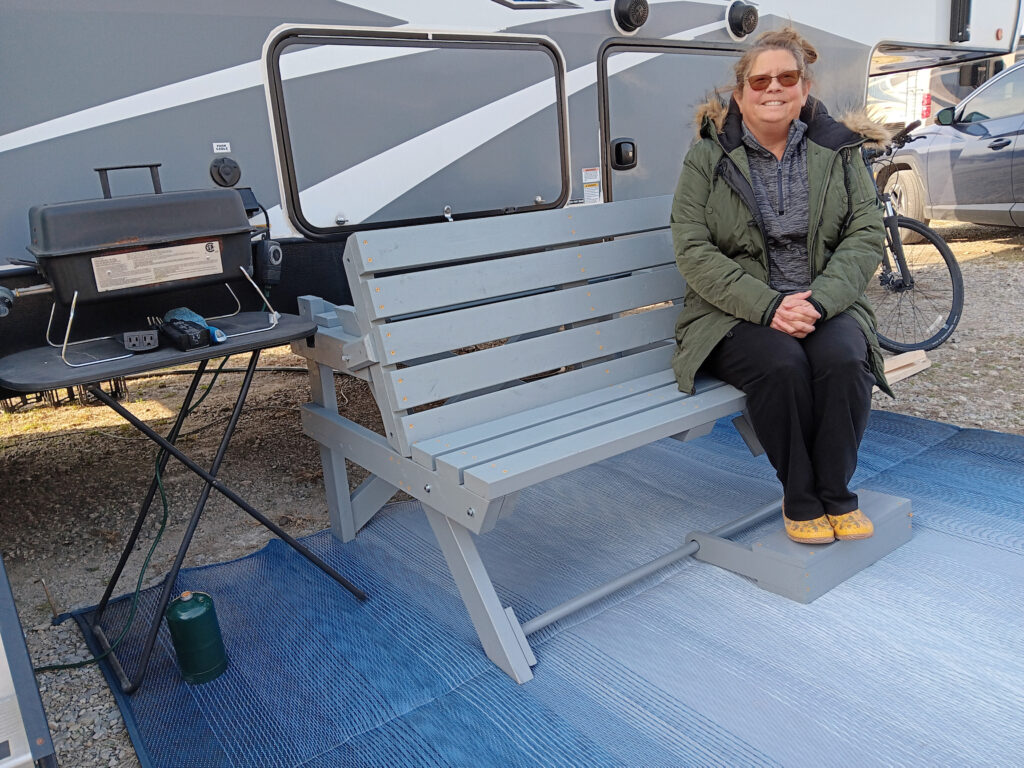
Kate looks cold because it is cold. The temperature was 46 degrees, but the windchill was bad.