
Pine View Campground, WI, September 2026
It hurts.
Why Bother?
Most people get their tires changed and never think about it again. The tire shop beats the stuffing out of the lug nuts with an impact wrench pulling them off and again putting them back on. (If they are jacketed, they are also probably ruined.) The lug nuts are tightened to some random, usually too high, torque. Every once in a while, the lug nuts are too loose, or the rim is not centered. To protect yourself from having a lug nut come loose, you are supposed to re-toque the lug nuts after the rims are removed and put back on. Our research claimed various things, including
- High quality steel rims should not need re-torquing.
- Most modern rims are an aluminum or alloy.
- Vehicle manuals should specify the proper torque for the rims
- Light vehicles are unlikely to need more than one re-torque after 50-100 miles.
- Heavy vehicles might need a re-torque at multiple mileages.
- The safest practice is to re-torque after every 50-100 miles, until the lug nuts no longer tighten.
- To do this properly, you need a Torque Wrench.
Our RV has a sticker on the side noting the proper torque (100 ft-lbs) and mileage intervals to re-torque (50, 100, 200 miles). In reality, we do not always match the suggested intervals. Sometimes the first re-torque is at 10 miles and the next one at 45 miles because those are the available stopping places. The key is to drive the vehicle enough for the rims to center and settle, so you can verify that the lug nuts are properly tightened. We generally only re-torque twice, unless a lug nut moves again on the second re-torque.
For cars, John used to just estimate the torque based on weighing about 200 lbs. If you have a 1 ft wrench and you need 100 ft-lbs, you put the ratchet on the lug nut parallel to the ground and lean half your weight on the end of the ratchet. If it moves, keep resetting the wrench parallel to the ground to try again. When the wrench stops turning, you are at about 100 ft-lbs (i.e., .) This is fine for a cheaper lightweight car (or when you are young and dumb), but it is not good enough for a house on wheels.
John bought a Tekton Torque Wrench with a 24 inch handle to use for the RV. Doubtless, different torque wrench brands work differently, but this is how our Tekton works.
Prepping
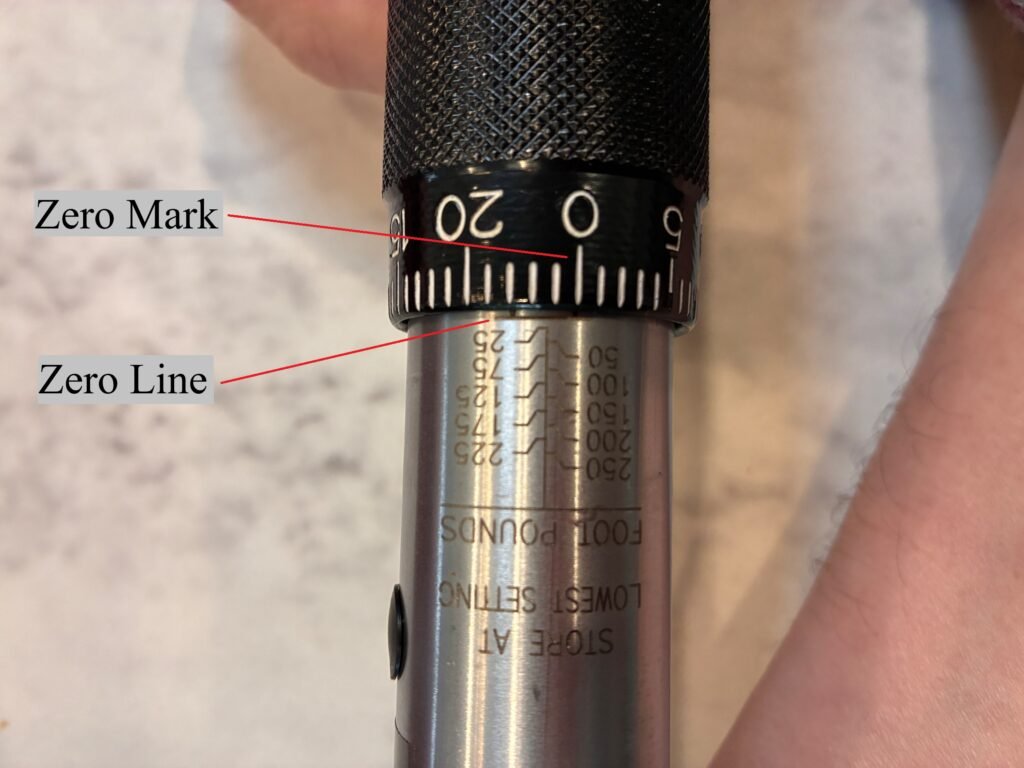
1. The wrench is stored, in a plastic case with the instructions, in the unset 0 ft-lbs position with the handle locked. When unset for storage, the top of the knurled grip will sit just below a quarter inch wide line on the handle and the 0 marker on the knurled grip should line up the the ft-lbs scale.
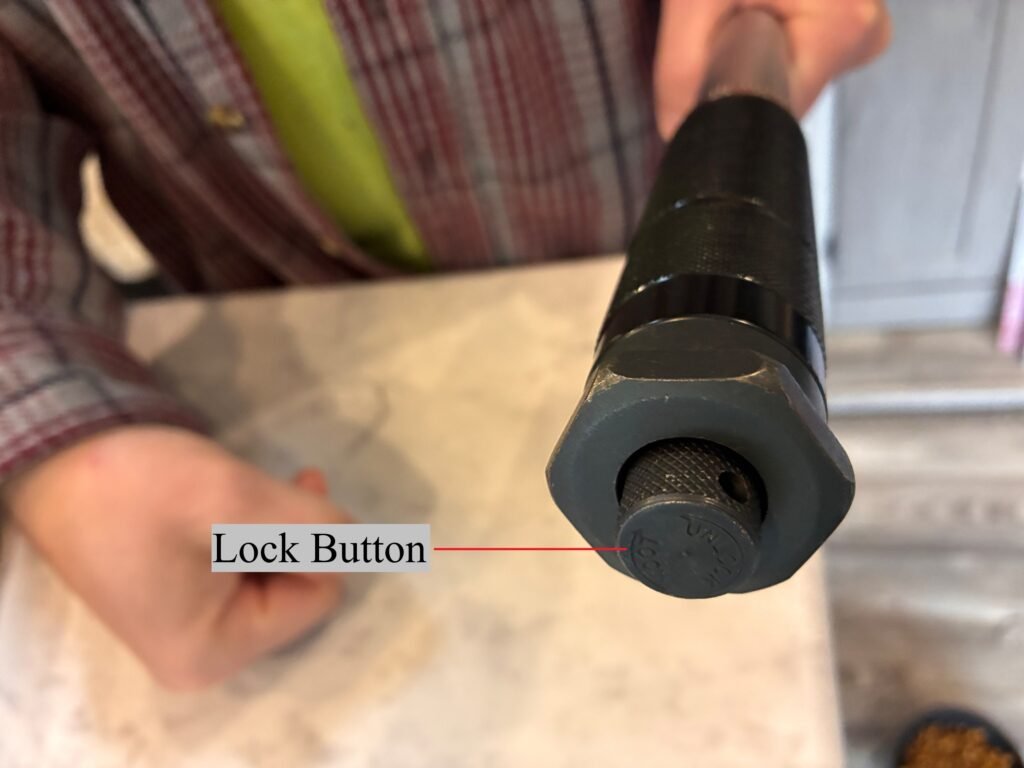
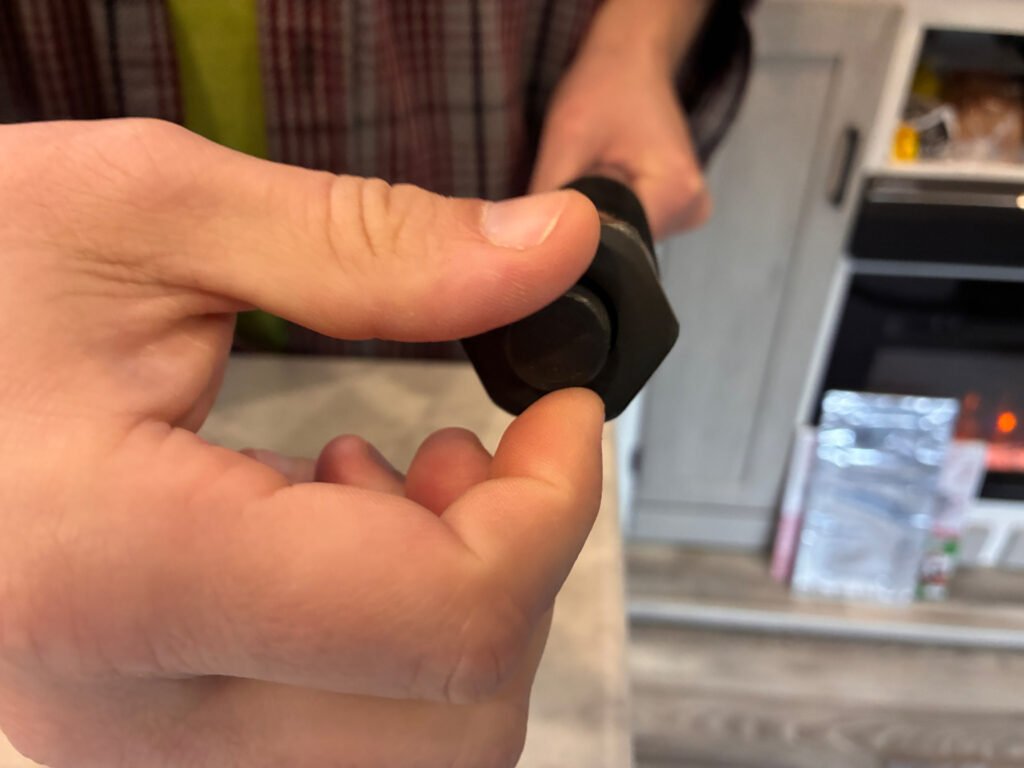
2. Unlock the handle by twisting the button, on the end of the handle, counter-clockwise.
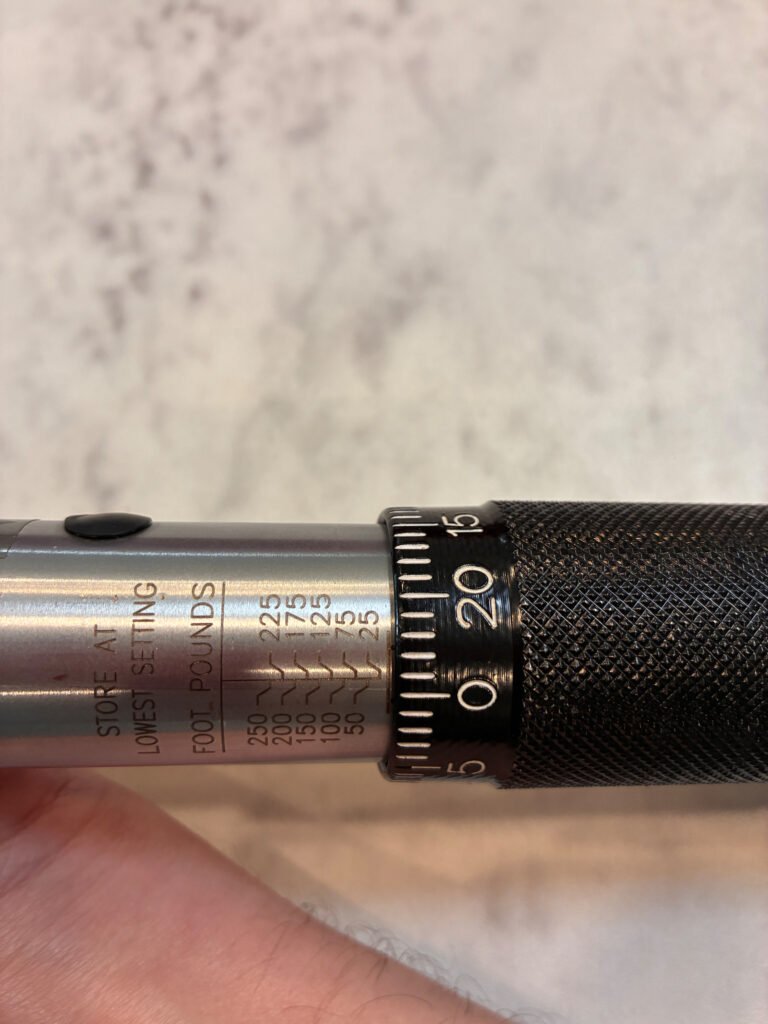
3. Find the ft-lb scale on the handle immediately above the knurled grip. There is also a metric scale on the opposite side, but metric is un-American!
4. Twist the knurled handle clockwise so that the numbers at the top of the knurled grip progress from 0 to 25 once for each full 25 ft-lbs required. (For example, to get to 90 ft-lbs, you need to twist the knurled grip from 0 to 25 three times to get to 75 ft-lbs.) Note: The grip is actually marked as 0, 5, 10, 15, 20, 0. The reason for this is that the handle has marks in 25 ft-lb increments, and the grip has marks in 1 ft-lb increments. If you were at 49 lbs, that is 24 ft-lbs from the 25 ft-lb marker. When you add 1 ft-lb, you are now 0 ft-lbs from the 50 ft-lb marker. The 25 adds to the handle marking and resets the grip marking to 0.
5. Twist the knurled handle clockwise so that the number at the top of the knurled grip progress from 0 to the remainder of the required setting. (For example, remaining, so twist clockwise from 0 to 15 at the top of the knurled grip.)
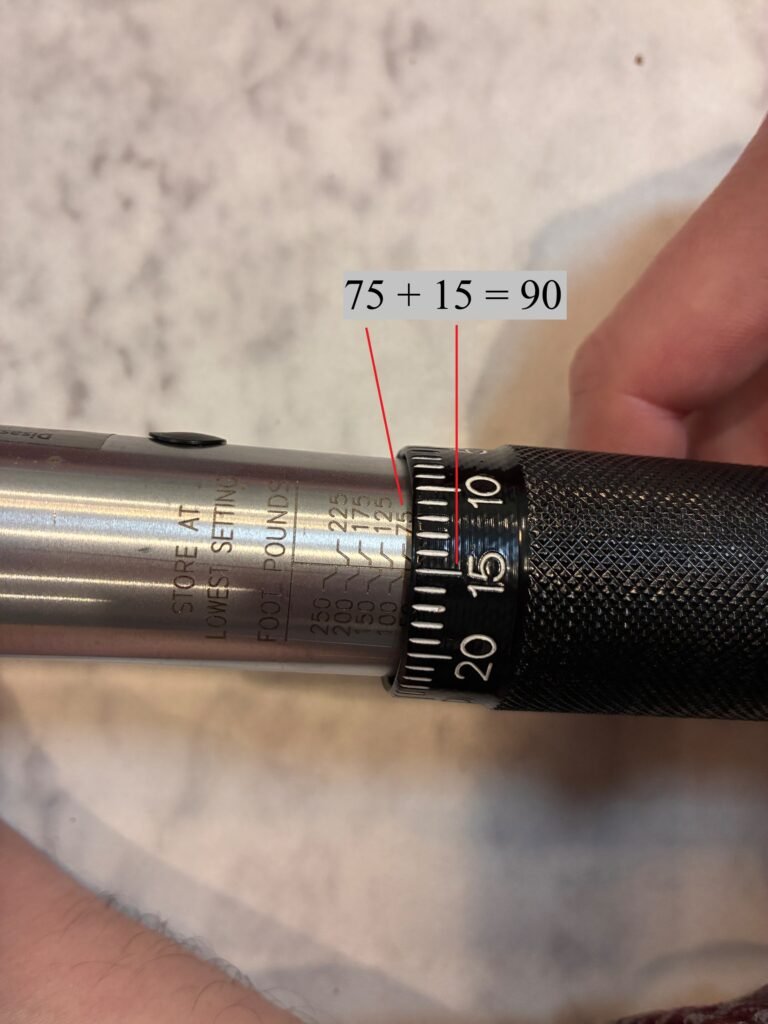
6. Check the setting and lock the handle to the current setting by twisting the button, on the end of the handle, clockwise. The lines denoting the settings are angled, so you should not read the numbers on the grip. Follow the line from the number to the center line to determine the setting. (For example, when set to 90 ft-lbs, the number 75 is just above the knurled handle, but the line for 75 connects to the center line under the knurled grip.)
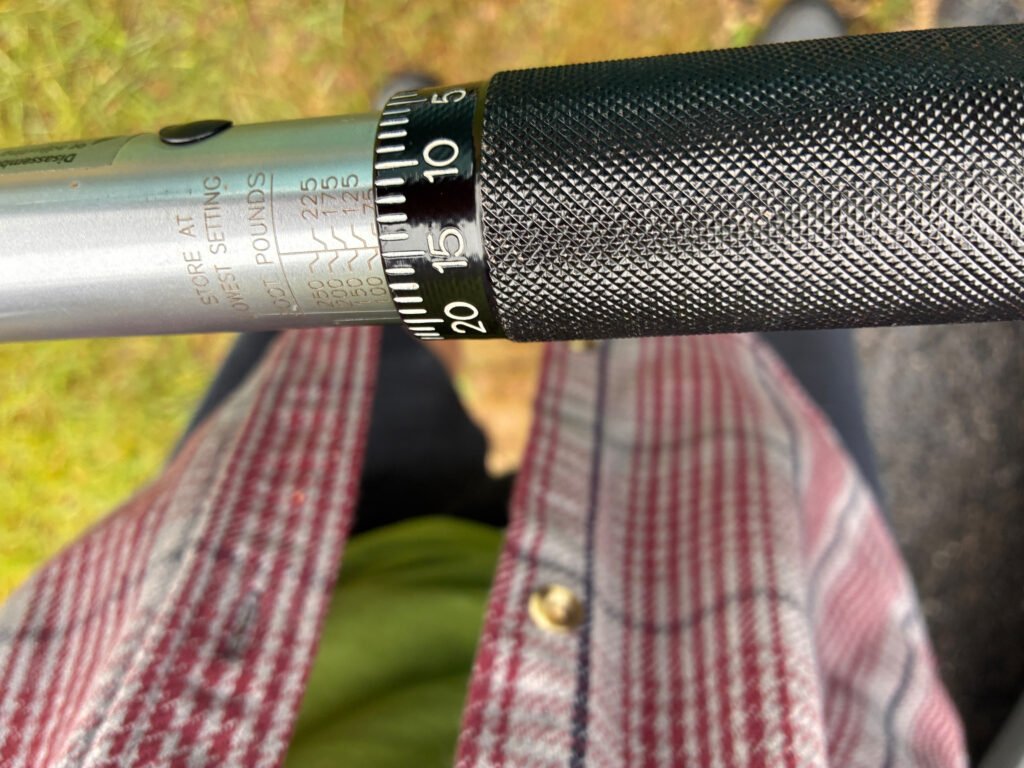
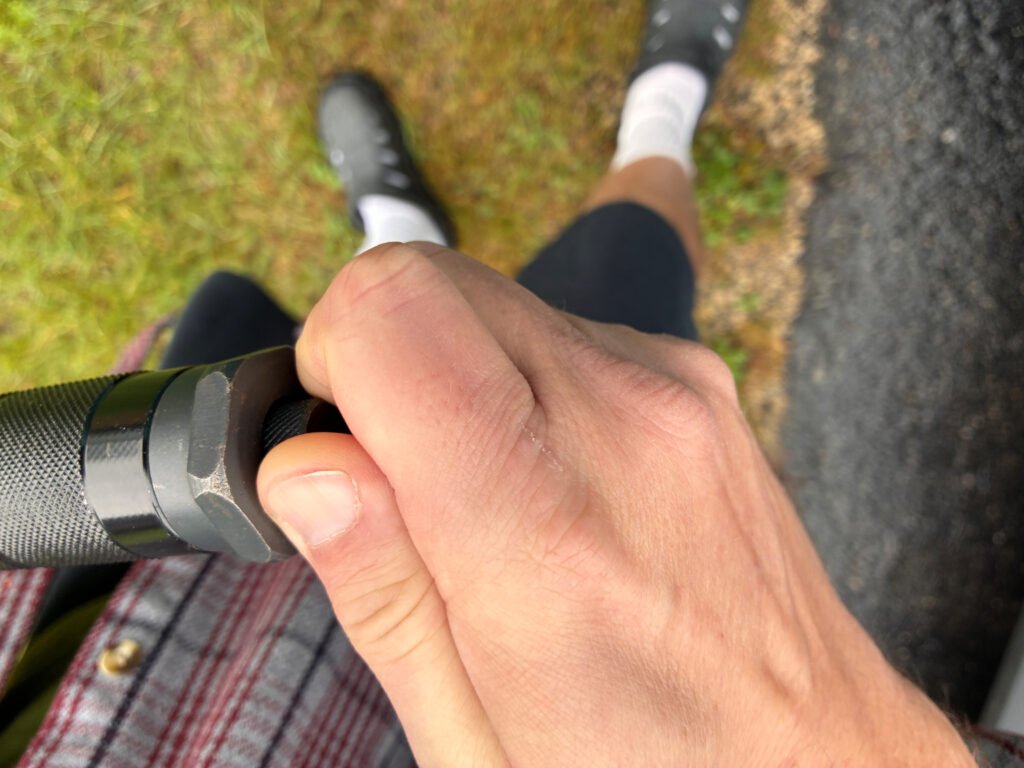
7. Put a socket on the wrench. Our Torque Wrench uses 1/2″ drive.
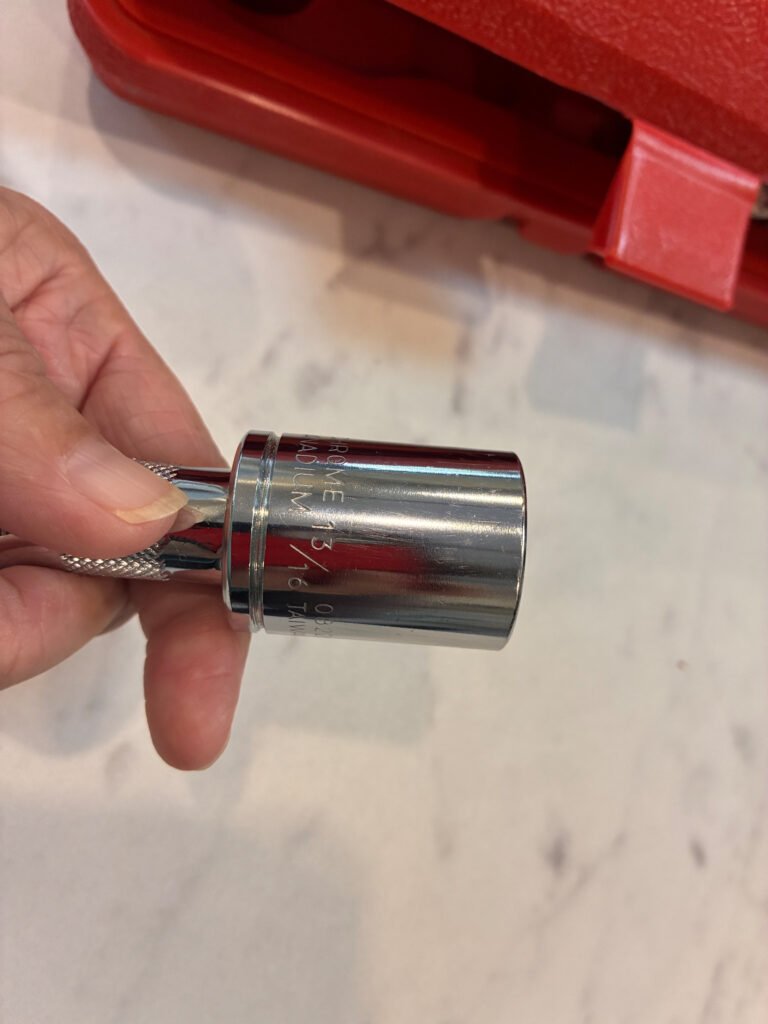
Tightening
1. Our vehicle specs are:
- Hyundai Tuscan: acorn lug nuts at 79-94 ft-lbs
- Ford F-350: 21 mm (un-American!) flat lug nuts at 165 ft-lbs
- Impression 315MB: acorn lug nuts at 100 ft-lbs
Note: works on the truck too. 21 mm is about 13.25″.
2. The lug nut should be mostly tight. The best way to re-torque the lug nut is to mount the wrench on the lug nut so that the handle is close to parallel to the ground pointing right. With your hand(s) on the knurled grip, slowly and gently lean your body weight onto the handle. When you hear a click and the handle bumps, stop. If the lug nut tightens a significant amount (more than 1/8 turn) without clicking, check the setting before continuing. If set to the proper torque, reset the wrench on the lug nut to be parallel to the ground pointing right, and gently lean your weight on it again. Repeat until it does not tighten before clicking. Note: Do not jerk or bounce the torque wrench. Doing so might over torque the bolt.
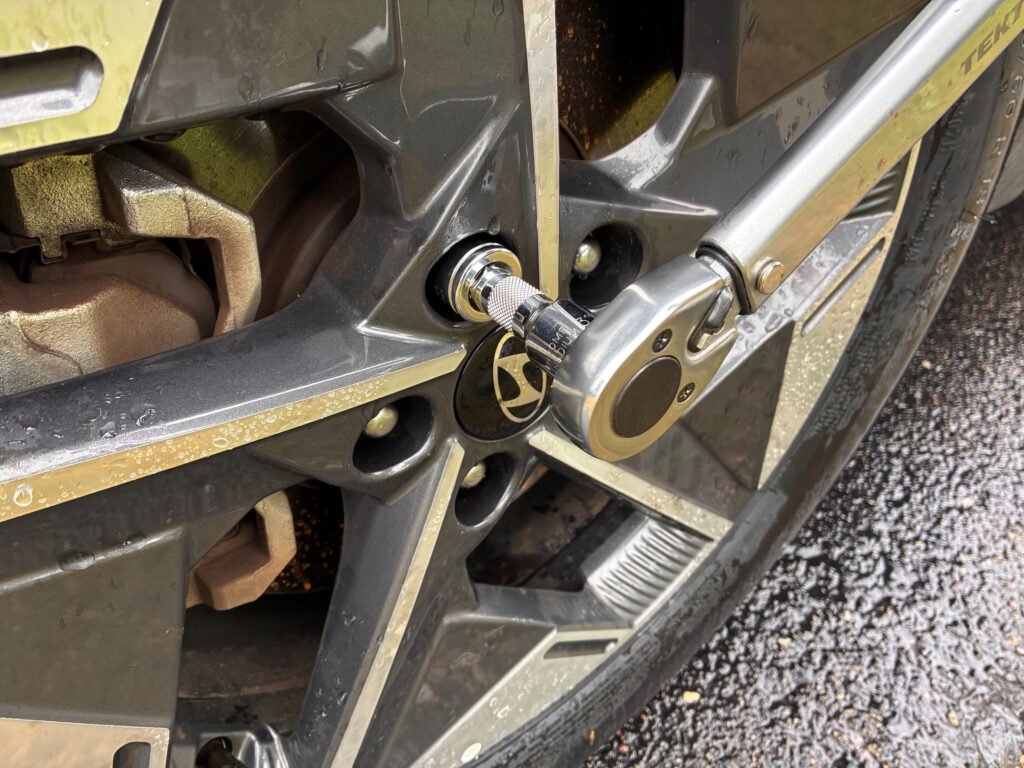
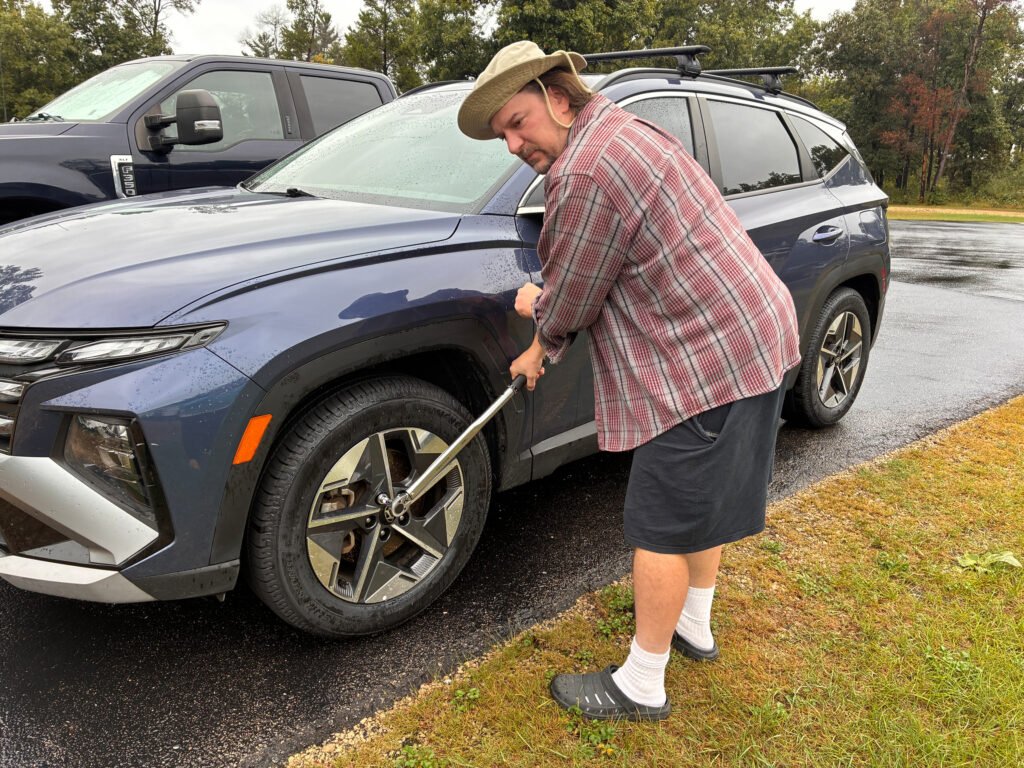
3. Take a selfie because you can.

Stowing
1. Remove the socket from the wrench, and put it away.
2. Loosen the handle lock by turning the button, on the end of the handle, counter-clockwise
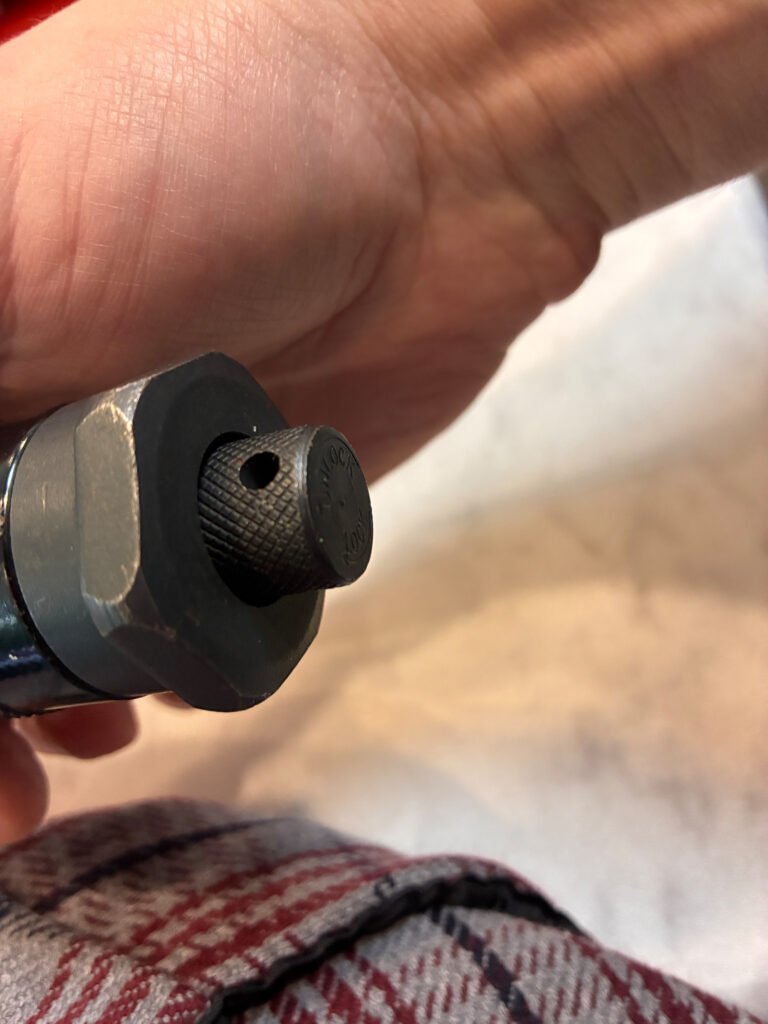
3. Twist the knurled grip counter-clockwise, until the top of the knurled grip is at the horizontal line for zero torque and the zero on the knurled grip is lined up with the ft-lb setting line. This should be the reverse of the prep steps 4 and 5. (For example, at 90 ft-lbs, twist counter-clockwise 15 to 0 once and 25 to 0 three times.)
4. Tighten the handle lock by turning the button, on the end of the handle, clockwise.
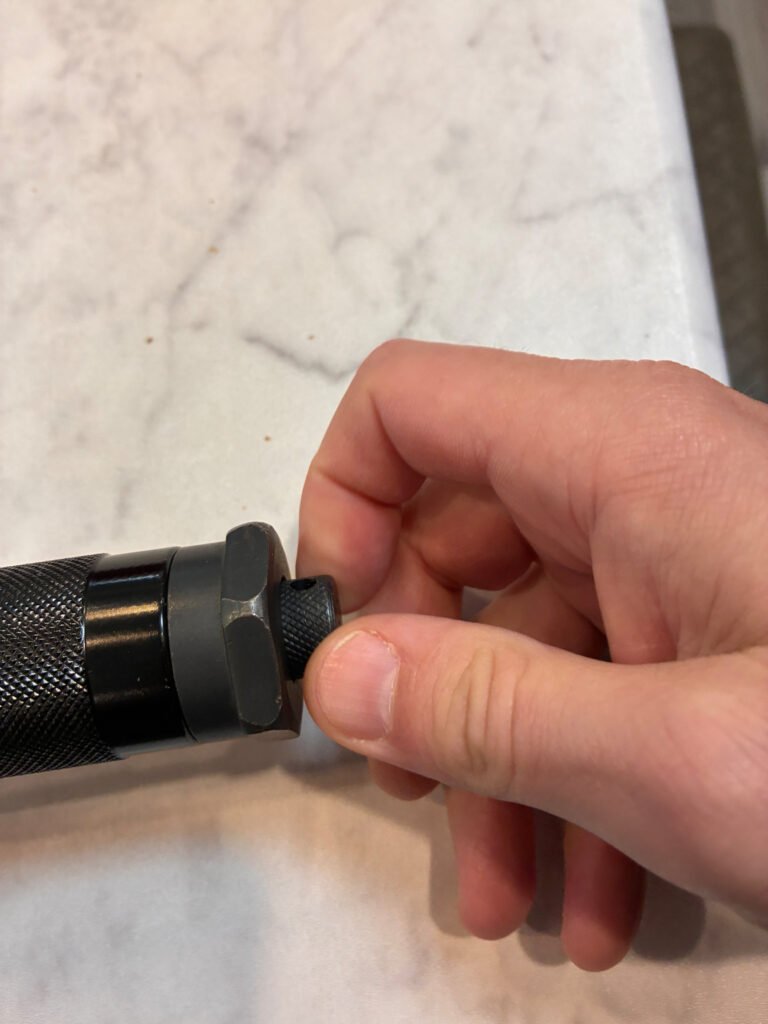
5. Return the wrench to the plastic case and put it away.